- Top grow lights for indoor gardening:
- Best Overall: GE BR30 LED Grow Light Bulb
- Best for Wall Mounting: Feit Electric Dual Full LED Plant Grow Tube Light
- Best for Aesthetic Design: Grow Light Frame Shelf
- Best for Capacity: Spider Farmer LED Grow Light
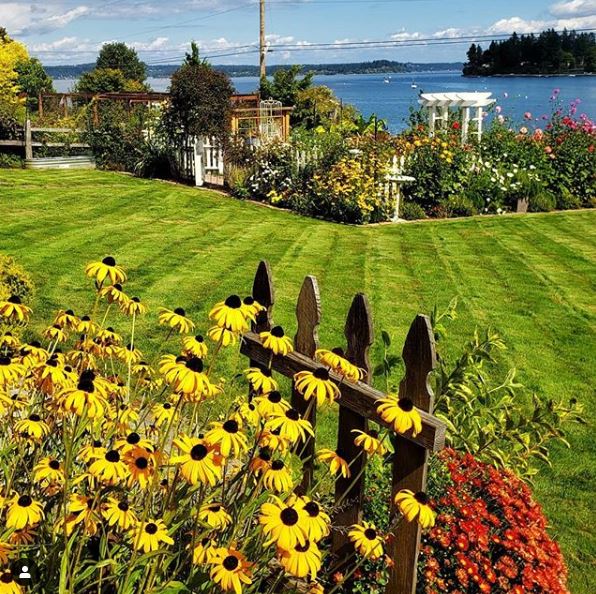
Whether you’re incorporating biophilic design or improving your lake home’s air quality, grow lights can ensure indoor gardening success. They also provide convenience since you do not have to position all your plants by windows. As Jeremy Yamaguchi, CEO of Lawn Love, explains, “Grow lights can be used to supplement natural light or to provide plants with the light they need to thrive when natural light is not available.” Plus, since these lights come in different shapes and boast unique features, you can choose the one that best fits your lake home and lifestyle. So, if you are ready to activate your green thumb, check out these top grow lights for indoor gardening!
Best Overall: GE BR30 LED Grow Light Bulb
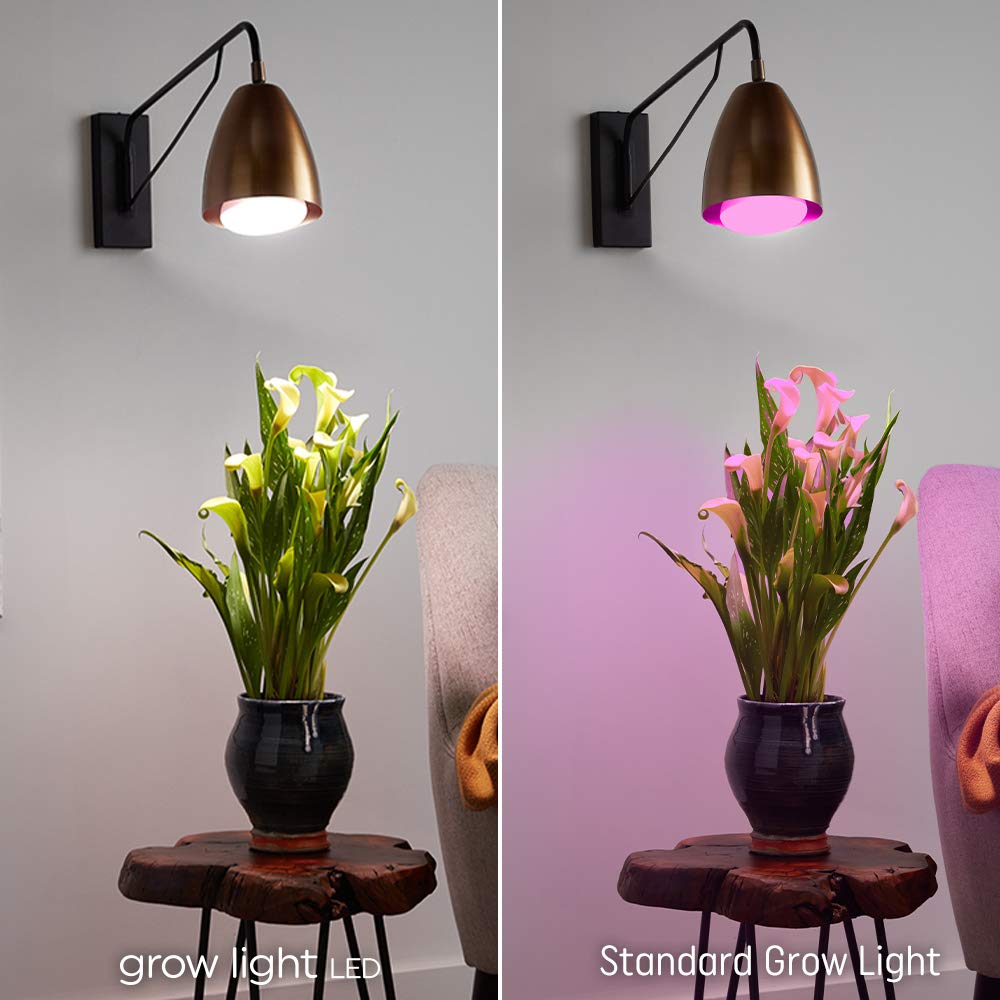
Compared to a standard grow light, the GE Grow Light LED avoids harsh tones and provides pleasant natural lighting. Plus, it’s a full spectrum light, meaning that it’ll maximize your plant growth. As Emma Loker—expert gardener at DIY Garden—explains, “The best grow lights emit a full spectrum of lights, as this helps plants through multiple lifestyle stages.”
Dwayne Kula—President of LED Lighting Supply—recommends this light bulb because of its energy efficiency, cost-effectiveness, quick results, and soft ambiance. Kula advises using the light for at least five hours each day to see results. He also adds that one of the benefits of the GE Grow Light LED is that “it doesn’t get hot even after many hours of operation.”
Kerry Sherin—Consumer Advocate at Ownerly—advises checking the life span of your bulb to know when you might need to replace it in the future. In the case of the GE Grow Light LED, the bulb boasts up to 25,000 hours (or three years) of usage, so you won’t have to worry about replacing this quality product for a while.
Best for Wall Mounting: Feit Electric Dual Full LED Plant Grow Tube Light
Although the Feit Electric Dual Light is a bit more expensive than the GE BR30 Light, its unique design allows you to mount the lights. These two-foot panels come assembled with full spectrum bulbs and boast a lightweight design that makes them easy to hang or seamlessly flush to the wall.
One two-foot Feit Electric Dual Light costs around $50. However, as Sherin points out, this is on the low end of the grow light cost spectrum. Sherin advises, “Generally speaking, you should expect to spend anywhere from $25-$200 for a basic setup with one or two bulbs.” Considering that the Feit Electric Dual Light emits full spectrum wavelengths, avoids high temperatures, and is easy to mount, it’s hard to beat its $50 price point.
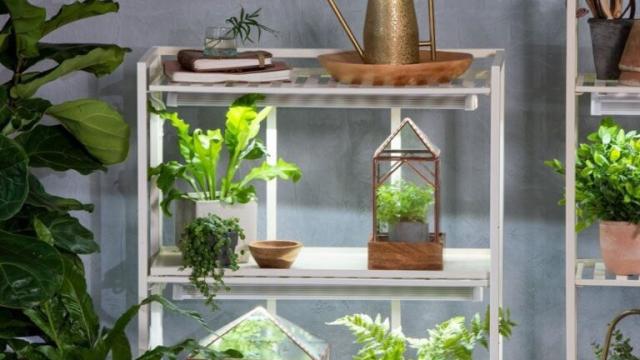
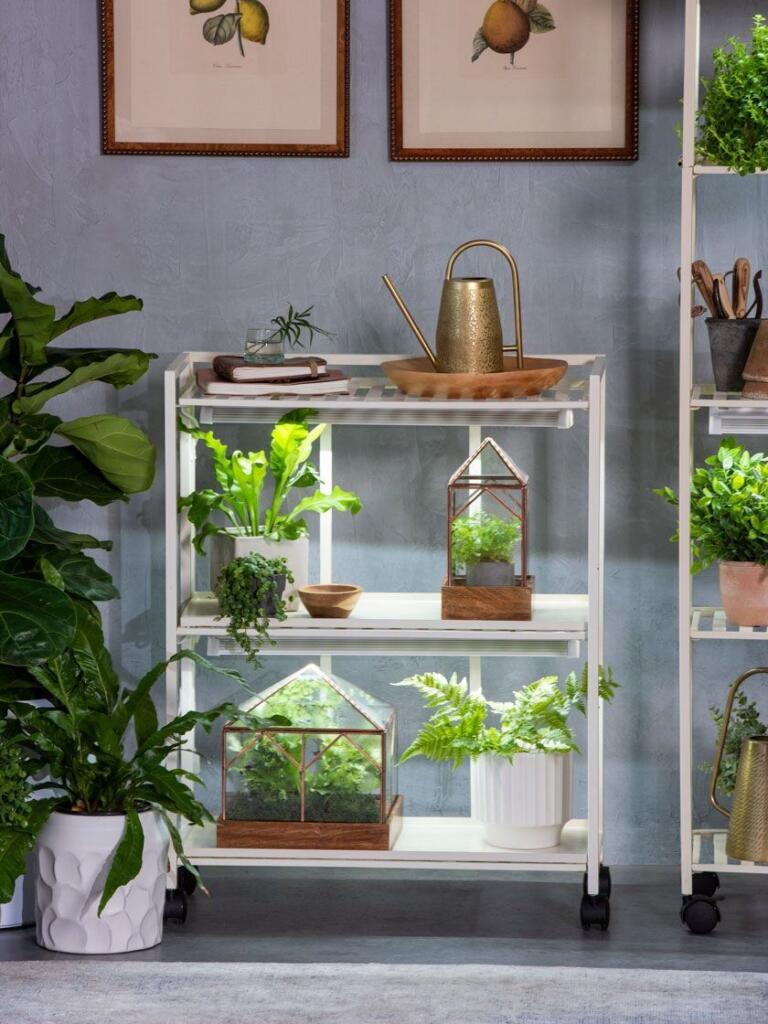
Best for Aesthetic Design: Grow Light Frame Shelf
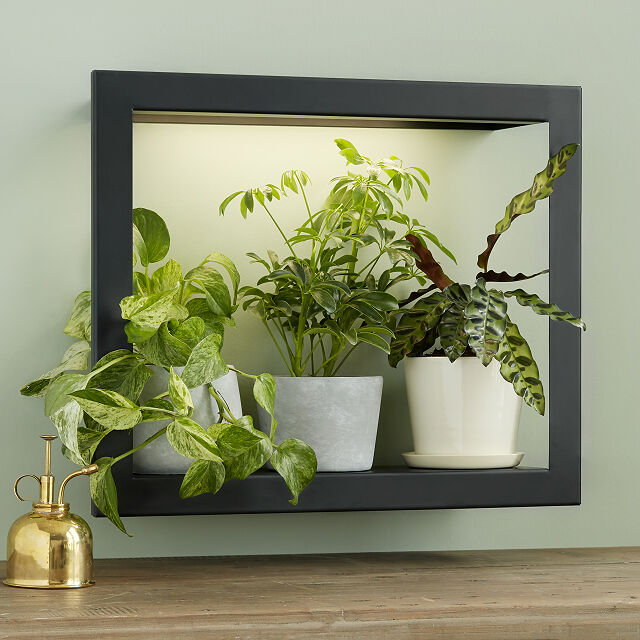
What if instead of hanging plant pictures on the wall, you framed the real ones? Forget packing all your plants on your crowded window sill; nestle them in this picturesque frame and place them anywhere in your home. With full-spectrum LED bulbs, the Grow Light Frame Shelf will maximize your plants’ growth whether you have ample or minimal natural light.
Additionally, the frame comes with an app that allows you to set timers and adjust the light intensity. As founder of Happy DIY Home and master gardener Jen Stark explains, “Timers make your grow lights easier to use as you can set them on a cycle and allow them to run without any further input from you.” Although the Grow Light Frame is on the pricier side, its design and technological features make it a worthy investment.
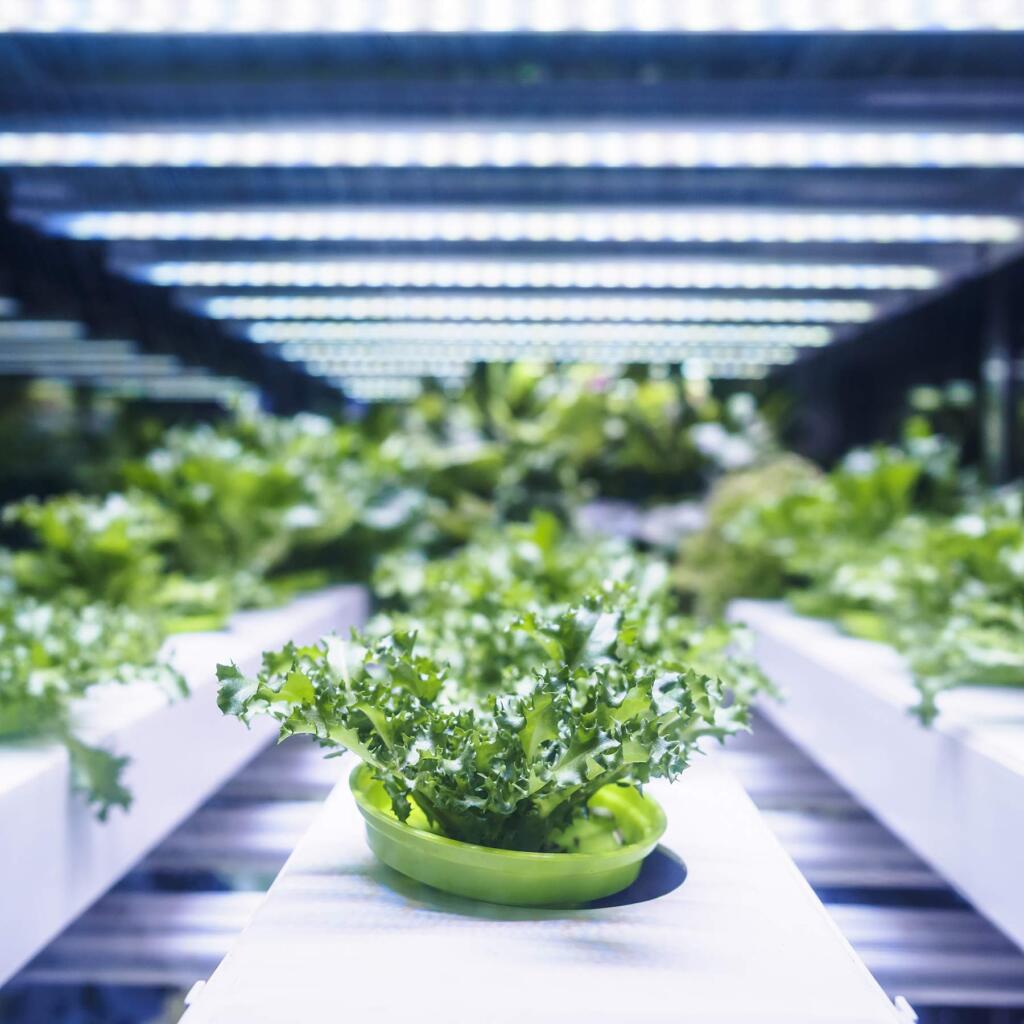
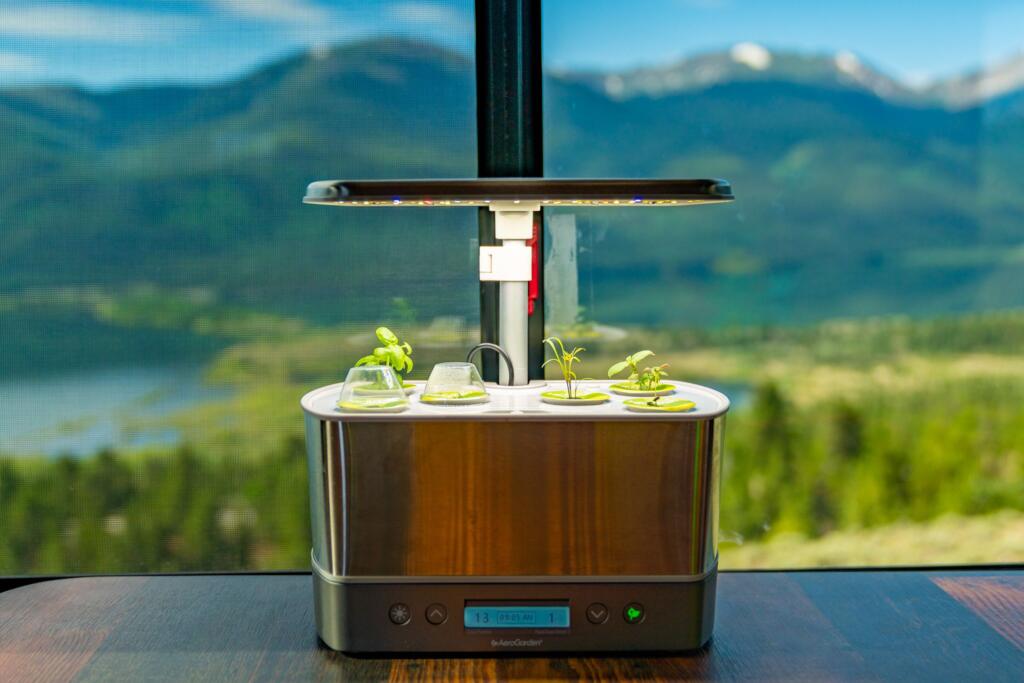
Best for Capacity: Spider Farmer LED Grow Light
If you are looking to grow multiple plants at once, the Spider Farmer LED Grow Light is the ideal choice. Spider offers multiple panel sizes, and the one pictured above is the SF600. This light has tremendous output, utilizing 384 LED bulbs. Yet, it has a low heat emission and a long lifespan, lasting up to 50,000 hours. Even with this capacity, the Spider Grow Light’s sleek design takes up minimal space. As Stace Krljanovic—advisor at Patio Productions—elucidates, “If you have an especially large space, there are larger bulbs available that can help give you more room coverage without taking up too much space (or money).” The Spider Grow Light accomplishes both of these tasks, spanning a little over three feet and costing around $130.
So, if you want top grow lights for indoor gardening, you can’t go wrong with any of these highly-rated choices. Simply choose the one that best compliments your lifestyle, and get to growing!
FAQs
What does it mean if a grow light is full spectrum?
Plus, it’s a full spectrum light, meaning that it’ll maximize your plant growth. As Emma Loker—expert gardener at DIY Garden—explains, “The best grow lights emit a full spectrum of lights, as this helps plants through multiple lifestyle stages.”
How much do indoor grow lights cost?
Sherin advises, “Generally speaking, you should expect to spend anywhere from $25-$200 for a basic setup with one or two bulbs.”
How do you use grow light timers?
As founder of Happy DIY Home and master gardener Jen Stark explains, “Timers make your grow lights easier to use as you can set them on a cycle and allow them to run without any further input from you.”
What kind of indoor grow light do you get if you have a lot of plants?
As Stace Krljanovic—advisor at Patio Productions—elucidates, “If you have an especially large space, there are larger bulbs available that can help give you more room coverage without taking up too much space (or money).” The Spider Grow Light accomplishes both of these tasks, spanning a little over three feet and costing around $130.
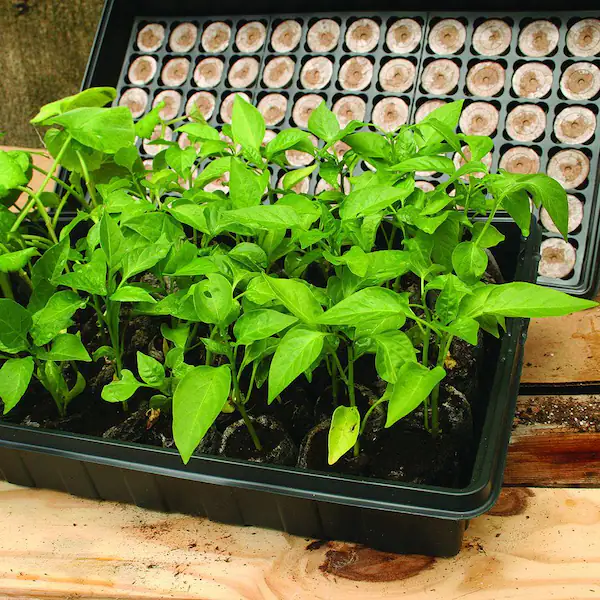
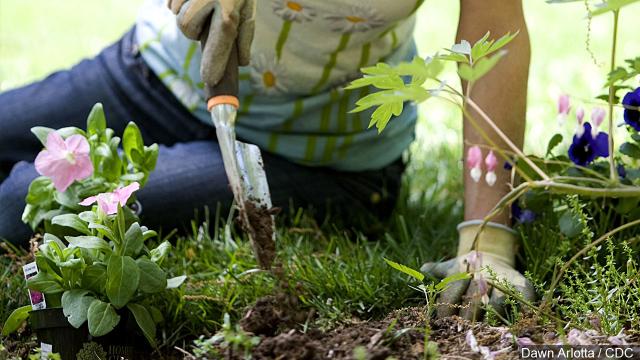
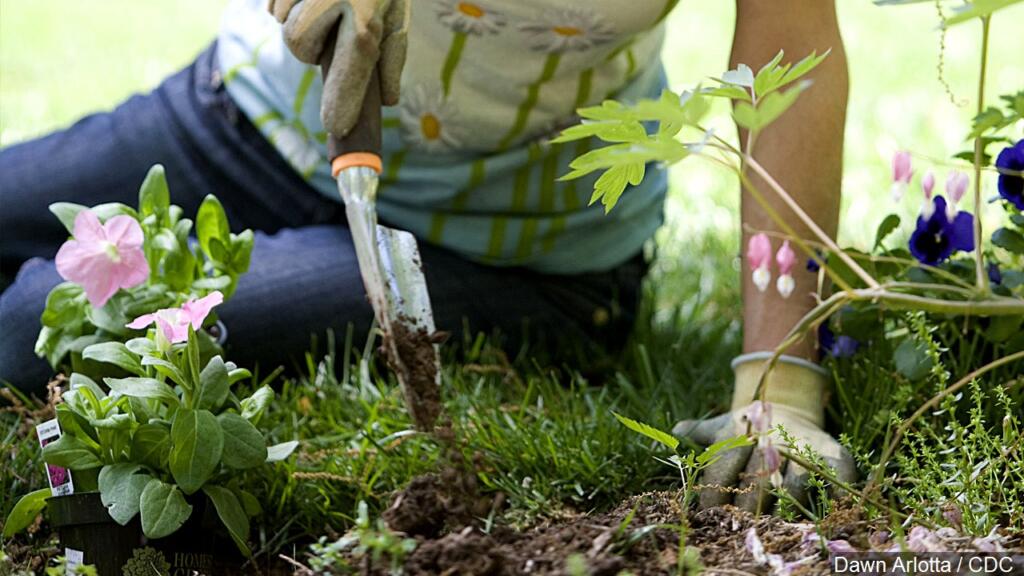
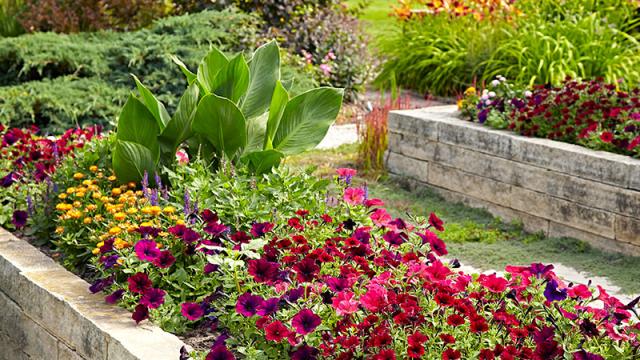

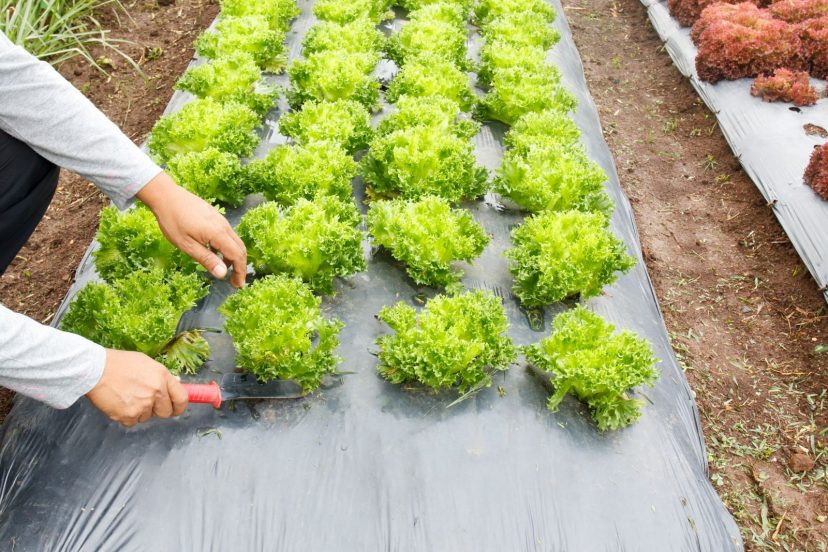


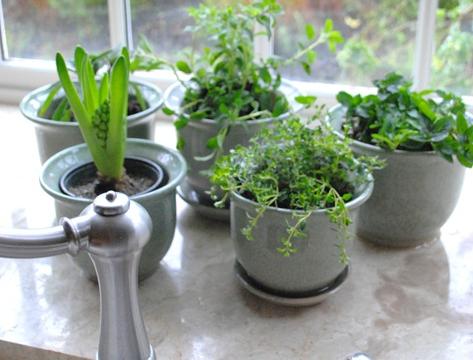
 There are many reasons why people chose to grow kitchen herb garden. They produce organic and healthy harvests and are cheap as well. They are easy to grow and all they need is sunlight and warmth. In case your kitchen lacks direct sunlight, you might place your herb in other rooms as well. Now, we’re going to give you a brief explanation on how to start your own kitchen herb garden.
 Containers: You will need lots of containers to put your herbs in. Look in your house if you have some unused containers. If not, check the garden stores, they will definitely have them. When you find them, create drainage holes in its sides before planting seeds/seedling.
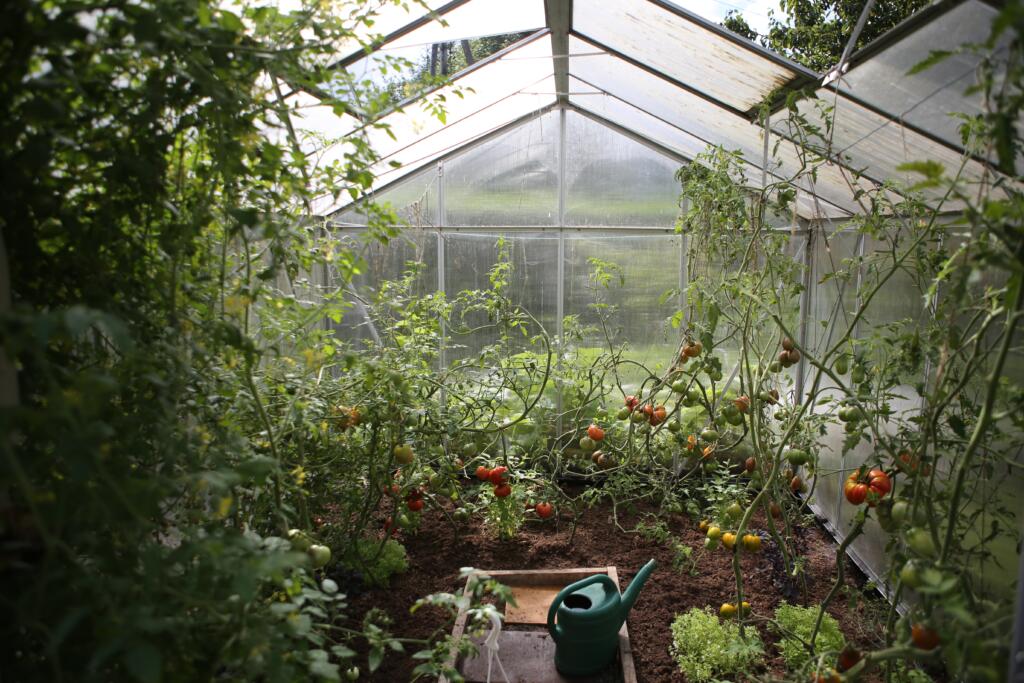
 Starting your own at-home vegetable garden is a great way to save money on fruits and vegetables. A measly $2 tomato plant over the entire season can give you nearly ten pounds of fruit.
 Many people get very excited at the idea of a vegetable garden with eyes bigger than their means.