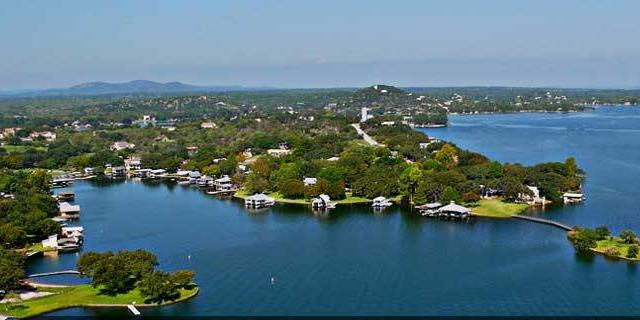
Lake Lyndon B. Johnson (LBJ) is a 6,200-acre, constant-level reservoir located on the Colorado River in the famous Texas Hill Country.
Originally named Lake Granite Shoals, Lake LBJ is just an hour’s drive from Austin, Texas, and is the perfect combination of rural, relaxed lake living and big-city accessibility.
Whether you grew up visiting the lake during the summers, or grew up on the water, you’ll recognize Lake LBJ by these amazing qualities:
At Lake LBJ, Wildlife Lives Next Door
In the Texas Hill Country, wildlife is abundant.
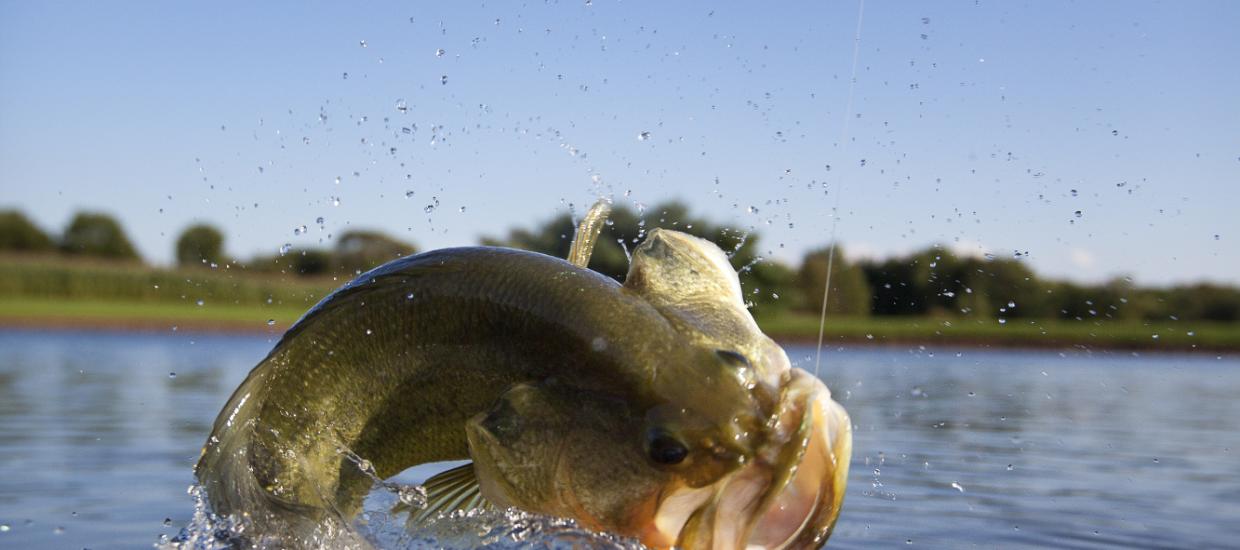
Fishing, of course, is one of the more popular past times during the spring and summer months. Amateur and skilled anglers from all over the country flock to Lake LBJ for a chance at record-breaking bass and crappie.
Along with its impressive variety of fish species, the area surrounding the lake is populated by a myriad of wildlife including foxes, coyotes, rabbits, and deer.
Because the areas surrounding the lake are made up of incorporated subdivisions, hunting is strictly prohibited, so a wide variety of beautiful wild animals will be among your neighbors.
Celebrity Sightings Are Routine
While it may not be Los Angeles or New York City, Lake LBJ holds its own when it comes to attracting the best and brightest.
Influential businessmen and women from several of the largest cities in the state (and the country) flock to the lake for weekend getaways or for retirement.
In fact, the lake is one of the top three choices for retirement in the United States!
Celebrity actors like Sandra Bullock and Matthew McConaughey as well as a number of professional athletes also love calling Lake LBJ their home.
If you’re lucky, you may see Matthew and his kids driving the boat around Horseshoe Bay.
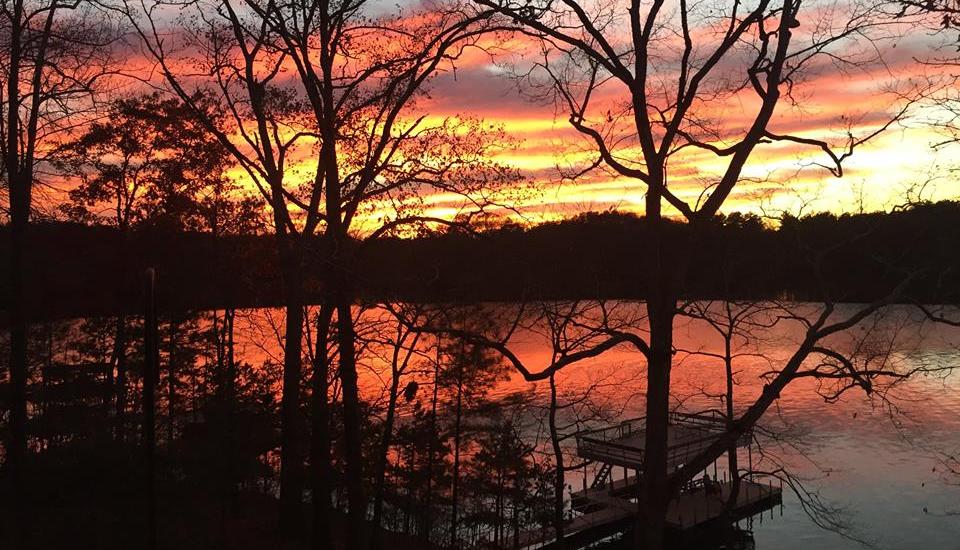
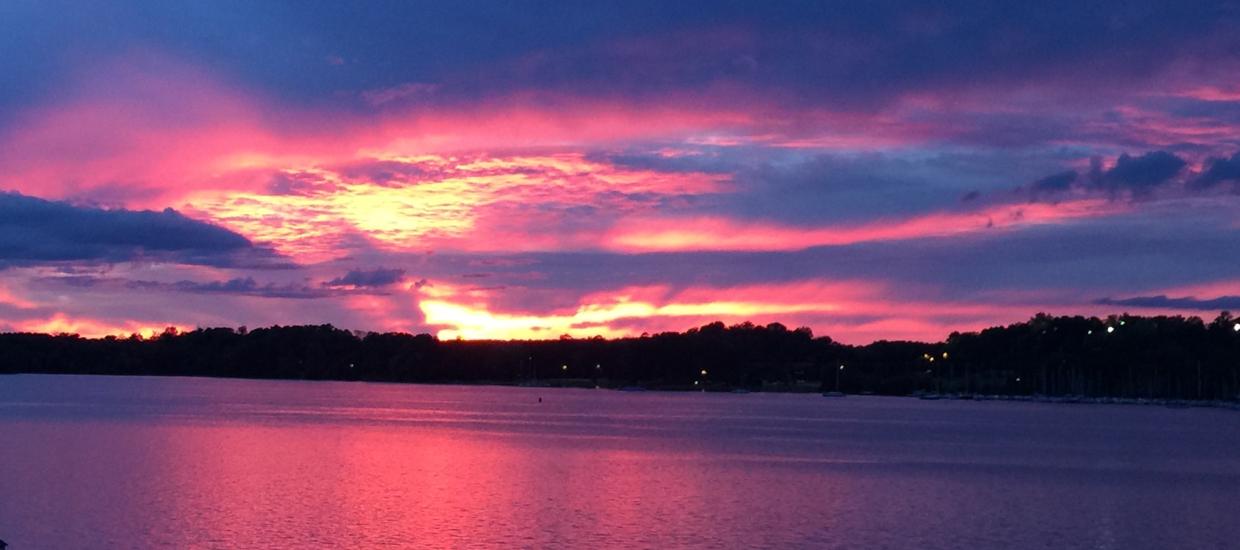
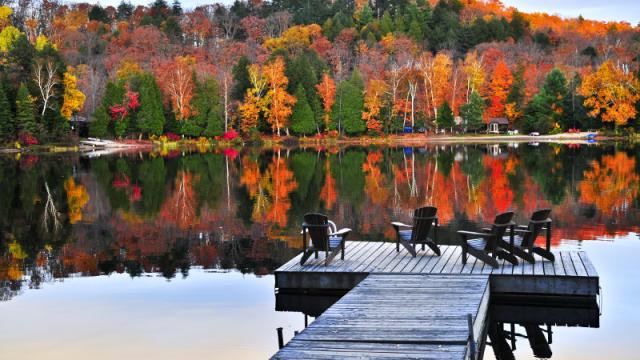
The Beauty of the Highland Lakes is Unparalleled
Whether the blue from the sparkling expanse of water or a rainbow of Texas wildflowers, you know that stepping outside and gazing at the lake is all the color you will need some days.
Throughout April and May, people travel from far and wide to catch a glimpse of the amazing assortment of wildflowers scattered along the shoreline and surrounding fields.
Every year, visitors are drawn to the vivid colors and unrivaled charm of the Lake LBJ area, however, you are lucky enough to call it home.
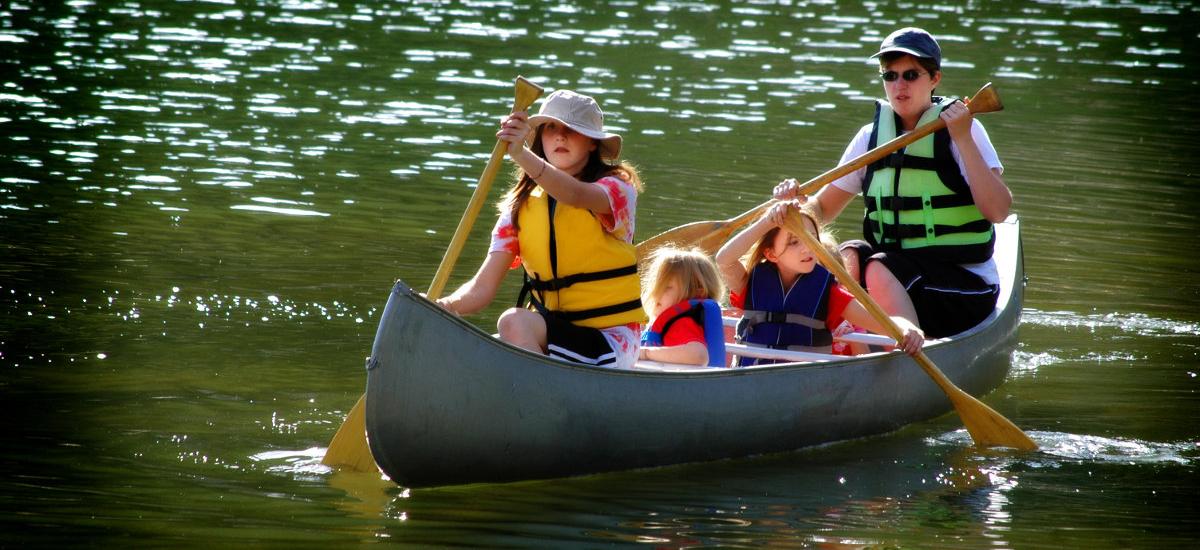
There is No Shortage of Things to Do
Whether a regatta, boat race or the annual Fourth of July Fireworks display, there is always something going on at Lake LBJ.
Aside from the usual lake activities like boating, swimming, sailing, and skiing, Lake LBJ offers a wide array of other opportunities to get outdoors.
During the day, you like to visit Lake LBJ State Park for its top-notch hiking trails. And if you’re feeling adventurous? The state park offers archery clinics, fishing days, conservation workshops and celebrations.
Rich, Texan Culture
One of the most popular lakes in Texas, Lake LBJ is visited by thousands of Texans from all over the state.
Named after the 36th U.S. president, who spent a great deal of his downtime on the lake, this lake brings a touch of Texan (and national) pride to the area.
The lake’s beauty, rich history, and lively atmosphere make a great day at the lake inevitable!
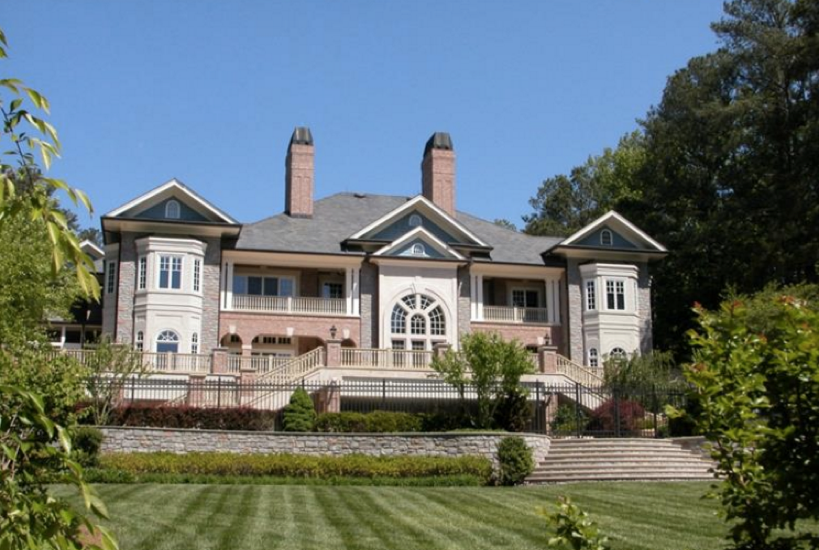
Interested in making Lake LBJ your home? Residents, lake experts, and real estate agents would tell you you’d be surprised at the variety of homes found on Lake LBJ’s 30 miles of shoreline.
Homes on the Lake LBJ market range anywhere from $80,000 to $7,000,000. To get a taste of the real estate diversity on Lake LBJ or browse our 468 listings, visit lakehomes.com or contact lake expert Bruce Jones.