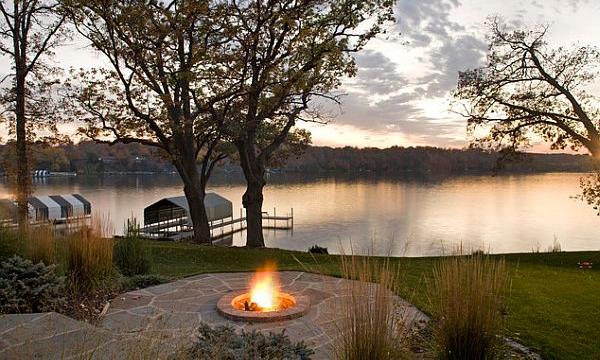
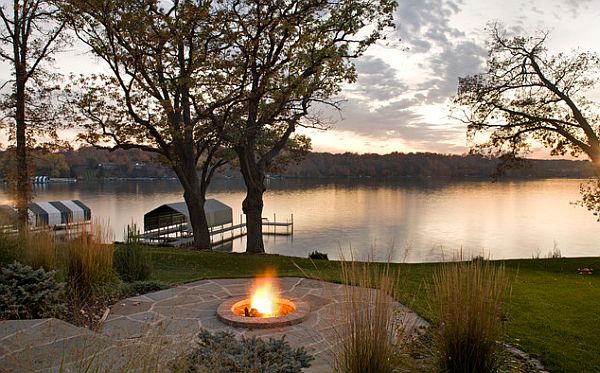
Fire pit kits, a recent DIY trend, are part of a long history of fire pits in general. For the past several years, fire pits have been a popular feature at lake houses. It’s not hard to see why. Especially during the fall, fire pits add a much-needed sense of light and warmth to your outdoor space’s ambiance. Roasting marshmallows, drinking wine, and staying cozy beside a fire describe the season’s essence.
However, when it comes to choosing a fire pit, there’s a lot to consider. They can be expensive to install, difficult to set up, and a headache to operate. If you’re running into these issues when choosing a fire pit, DIY might be the solution.
Many manufacturers have created fire pit kits — designed for convenient installation and easy maintenance. If you dream of a nice fire pit but love the convenience of DIY, these user-friendly products are perfect!
Belgard’s Fire Pit Kit
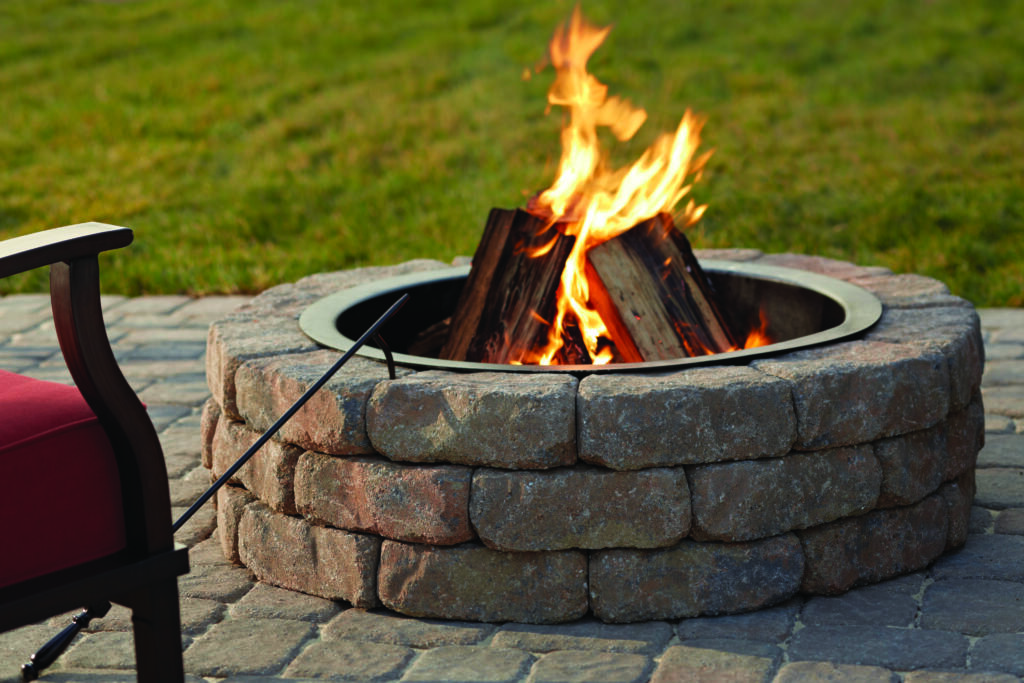
This circular stone fire pit kit from Lowe’s is a simple DIY design. The tumbled stone evokes a polished, contemporary look. With a retaining wall product surrounding the stones’ interior, it won’t crack at high temperatures like a brick fire pit would.
This product is available in six color blends to match your existing lake house’s hardscape for aesthetics. Suppose you don’t have all day to install, no worries.
This fire pit kit’s build time is only an hour because it comes with instructions and ready-to-assemble pieces.
RTA Square Fire Pit
After this square fire pit kit is shipped to your door, it can be assembled in one afternoon. If you’re having trouble, check out one of RTA’s installation videos for outdoor kitchens (the same process applies for fire features).
Once you’ve installed it, its durable features ensure that you’ll enjoy it for years to come. For instance, it comes with a weatherproof on/off switch, the ability to withstand freeze/thaw cycles and coastal climates, and a lifetime warranty on the structure.
Available in natural gas or propane, the stainless steel burner is the perfect addition to your outdoor kitchen. You’ll also love using the plate and drink counter space for your lake house guests.
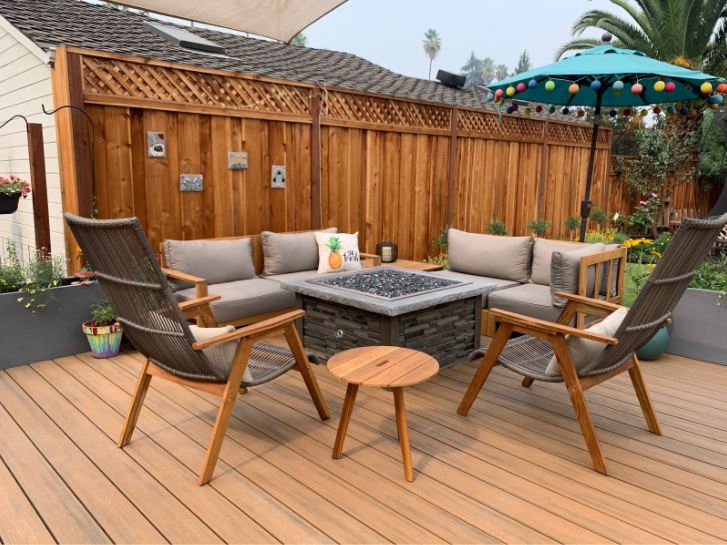
Park Canyon Propane Fire Pit Kit
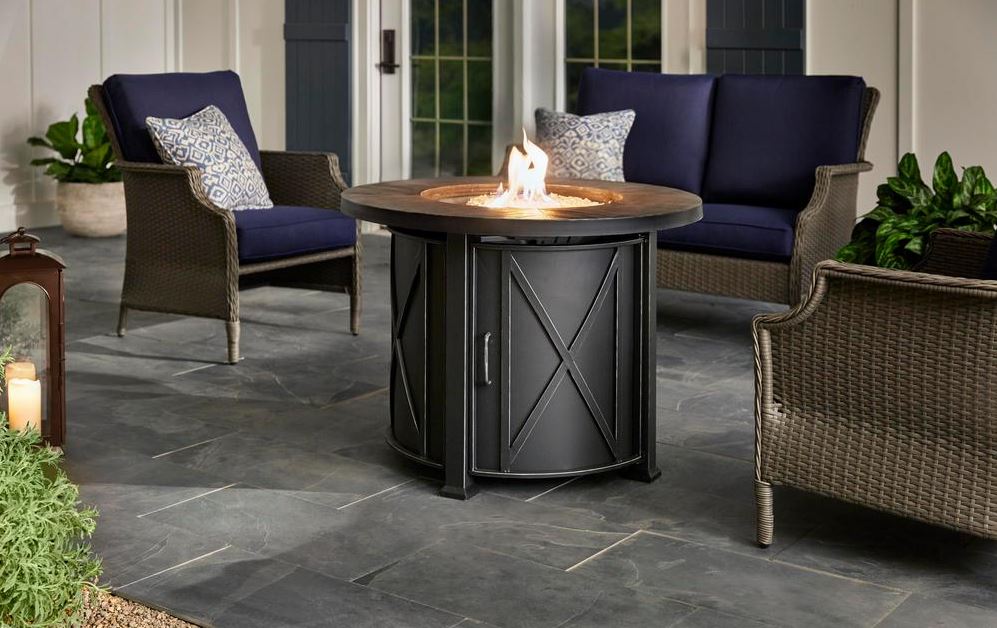
For a hint of classic elegance in your backyard, check out this propane fire pit kit from Park Canyon. The product is made of resin with a circular steel frame. It doubles as both a patio heater as well as a table.
When it’s heated, it has a power of 50,000 BTU and an automatic shut off to keep everyone safe. Up to 4 people can enjoy its warmth on a crisp fall evening. Plus, you can control the temperature just by pressing a button for maximum comfort.
With a mesh guard that contains fire sparks and an attractive cover to conceal the propane, it’s one of the more sophisticated fire pit kits you’ll find.
Cape Cod Fire Pit
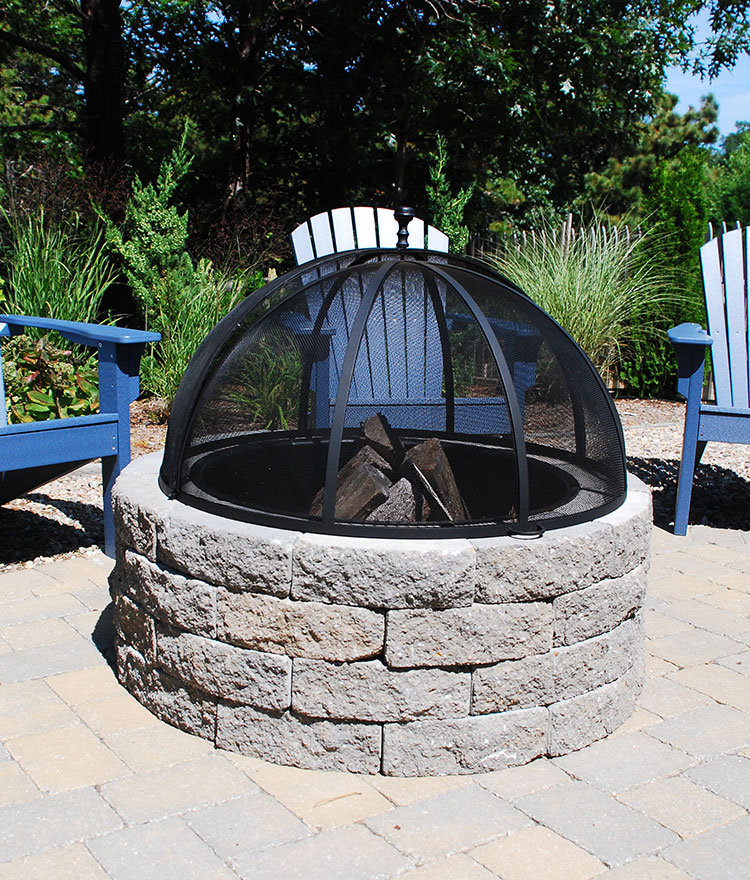
This Cape Cod Fire Pit has been a bestseller at Stonewood Products every year, and the reasons are obvious.
First, it’s designed to install quickly and easily so you can spend more time enjoying your fire pit than creating it. It’s also incredibly versatile.
When ordering, you can customize height and color so that it blends seamlessly into your backyard.
You can also tailor this fire pit kit to your needs by adding a smokeless fire ring, a spark screen, or a grill surface. This circular, stone fire pit is a timeless look that easily integrates with surrounding nature.
Belvedere Round Fieldstone Kit

This fire pit kit from Rosetta is designed to help you customize your outdoor dream space.
Varying shapes of wet cast concrete bring out a balance of modern and rustic looks. Especially paired with a stone hardscape, this look is perfect for a lake property.
For your convenience, it comes with a block key and pattern for quick installation. And depending on your preference, you can choose between a wood-burning or gas-powered fire pit.
At your lake house, fire pit kits are a great way to achieve a low maintenance landscape. They’re easy to install, and the designs are elegant and straightforward.
This fall, you can assemble a fire pit kit in one afternoon and invite guests over for s’ mores by evening. From our lake house to yours, stay warm outside and enjoy the season!


