A DIY is more than just a fun project to take on for a weekend. A DIY gives you a sense of pride and accomplishment. And there’s no better time than the present. Here is a compiled list of some fall DIYs that will be sure to stand out on your front porch this autumn.
Pumpkin Doormat
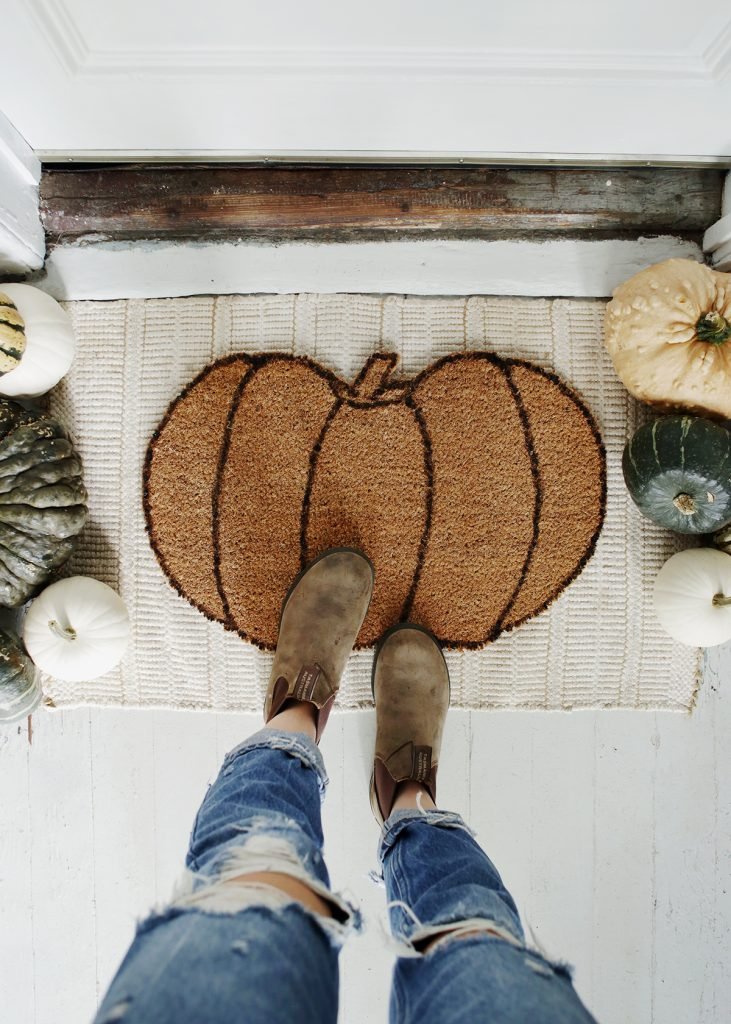
One thing every porch needs is a doormat. Despite its primary purpose of keeping dirt outside, it can also dress up your door. It’s one of the first things guests will see on your porch, so it’s best to make it welcoming and, in this case, festive! Check out this DIY pumpkin doormat to make this autumn.
Materials:
- Doormat
- Pencil
- X-acto knife
- Scissors
- Paint
- Paint Brush
Instructions:
The first step to making this festive doormat is to flip it upside down so that the bottom of the mat is facing up. From here, you will sketch your pumpkin on the back of the mat. You can do this freehand or by using a reference photo. Once you’re happy with the drawn shape, take your X-acto knife and cut off the edges so that the mat is in its pumpkin shape. Then, you’ll flip the mat over, right side up, and clean up any messy edges with scissors. Finally, creativity comes in! Use your imagination and paint the mat. It can just be an outline of the pumpkin so the natural mat shows, or you can use any color that will match the rest of your porch décor.
Mums in a Pumpkin Planter
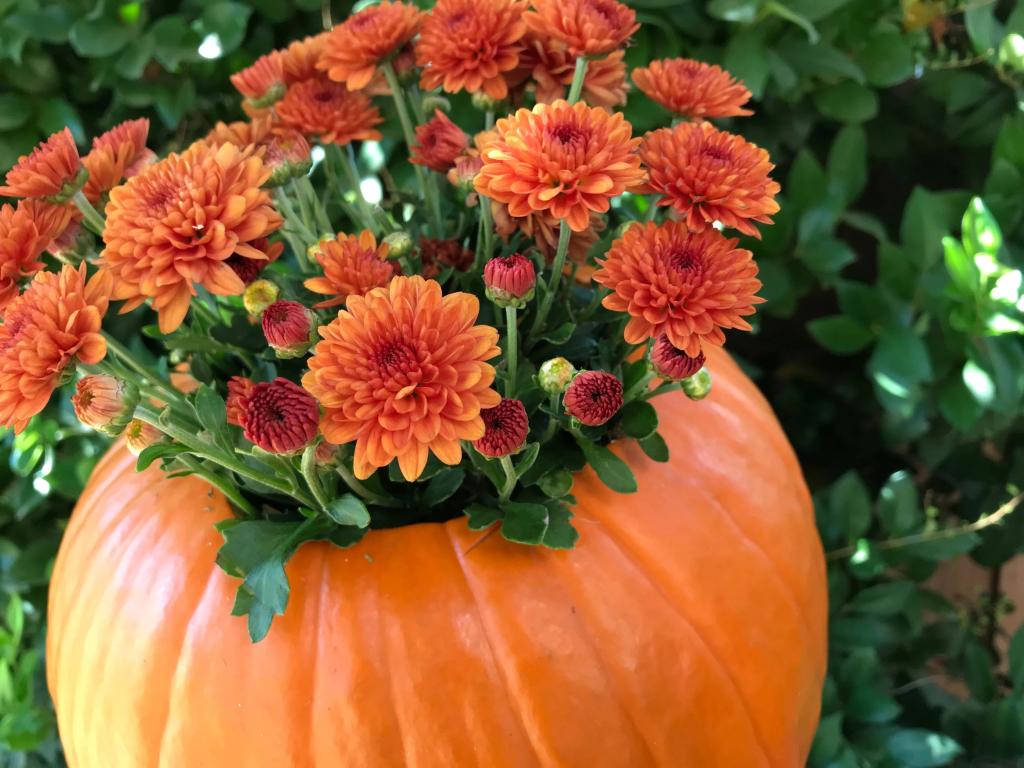
Chrysanthemums, also called mums, are a staple fall flower because of their vibrant red, orange, and yellow hues. Mums are sturdy flowers that will last throughout the fall season. One easy way to step up your mum game is to place them in a unique planter. What is more unique and autumnal than a pumpkin? Read these next steps on how to plant your mums in a pumpkin to dress up your flowers.
Materials:
- A Mum
- A Pumpkin Large Enough for the Mum
- Knife
- Large Spoon
- Sharpie Marker
- Potting Soil
- Ribbon
Instructions:
Your first step for this planter is to select your pumpkin-chrysanthemum combination. There is little rhyme or reason here, so pick what you like! It can match your other porch decorations or simply complement them. The one rule is to make sure your mum and pumpkin are proportional to each other and that the mum can fit inside the pumpkin. To get started, remove the mum from its pot and set aside. From here, grab your pumpkin and draw a circle around the stem using the plastic planter from the mum as a stencil. Now, cut the top of the pumpkin open where you drew a circle.
Once open, take the time to remove the guts and seeds using a large spoon. With this step, you want to take out the majority, but whatever little bit is left will just be turned into fertilizer. Be sure to save those seeds for roasting! Next, add the soil into the pumpkin so that the bottom of the mum will sit an inch below the opening. Now, the fun part. Plant the mum into the pumpkin and water it. You can stop here or decorate it with ribbon. Be sure to water it every other day and enjoy your new planter!
Autumn Leaf Archway

This DIY is no small feat, but it makes a big impact. With this fanciful leaf arch, you will be the talk of the block. It may be a more time-consuming project, but it only has four materials you’ll need.
Materials:
- PVC Pipe
- Chicken Wire
- Garland
- Zip Ties
Instructions:
Build an arch with PVC pipe based on how big your arch needs to be to fit your porch. Attach three pieces of chicken wire to form the square arch shape with zip ties while ensuring it doesn’t stick out too far. Then, fill in with strands of garland, attaching with zip ties. The number of strands is dependent upon size. However, you will likely need at least 20. Continue to add until it is at your desired fullness.
Pine Cone Door Hanger
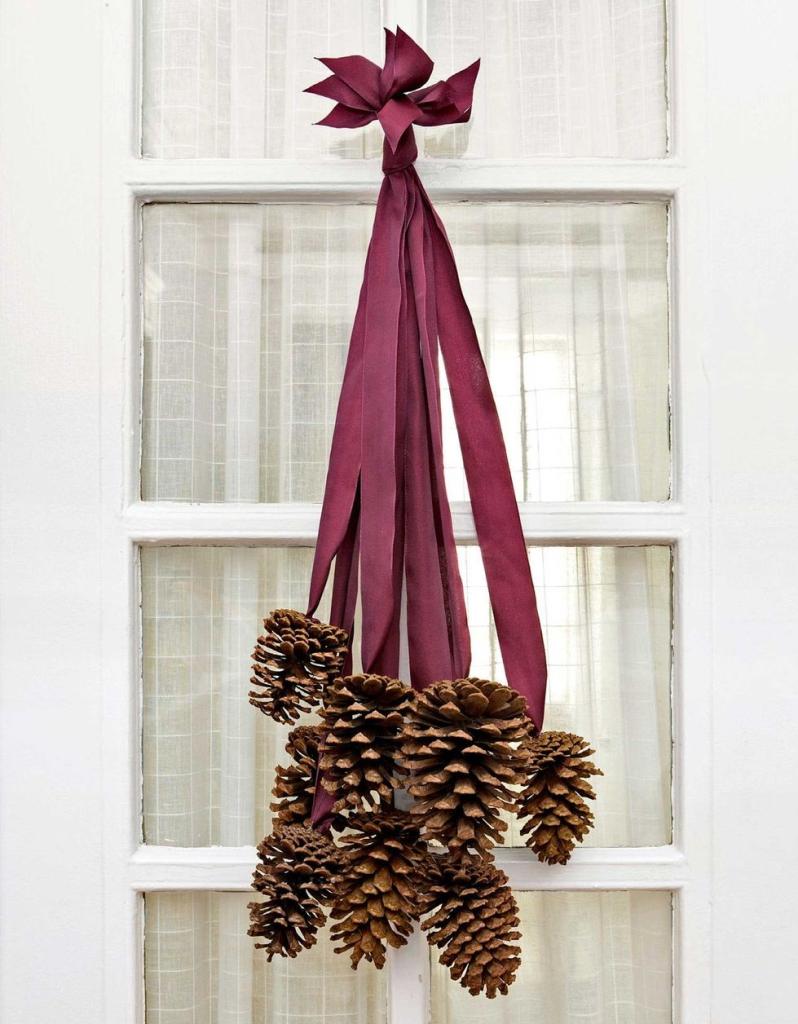
Wreaths are a porch necessity for all seasons. However, the trends are often changing on what kind of wreaths are becoming more popular. So, rather than a traditional round wreath, consider a hanging pine cone door hanger for this fall season.
Materials:
- Pine cones, preferably real
- Eye-Bolt Screws
- Ribbon
- Stapler
Instructions:
This DIY works best with natural pine cones you can scavenge from the forest or your front yard. First, take your pine cones and screw your eye bolts into their tops. Depending on your cones and screws, you might be able to do this by hand, or you may have to use a drill first. Screw it in until the eye hook touches the cone. Now, you have to visualize how the pine cones will lay. You will want them at staggered lengths rather than one bunch. So, lay out the pine cones at the varying lengths you want. Next, cut your ribbon to the desired length plus two inches for tying room for each pine cone.
Thread your ribbon through the eye hook, leaving one inch on the other side. Fold the inch onto the longer portion and staple them together to secure the pine cone. Repeat for all pine cones. From here, gather your ribbon-hung cones and lay them out how you visualized them. This is best done with the longest in the back and the shortest in the front. Once it looks how you like, staple all ribbons together near the top to make one hanging bunch. Now, cut the tops above the staple to make them even. Add a loop at the top with more ribbon, still stapling the two ends to the existing ribbon. Finally, use the remaining ribbon you have to decorate! You can add a bow near the top where the bunch will hang or at the top of each pine cone to add playful layers.
Three Pumpkin Stacked Topiary
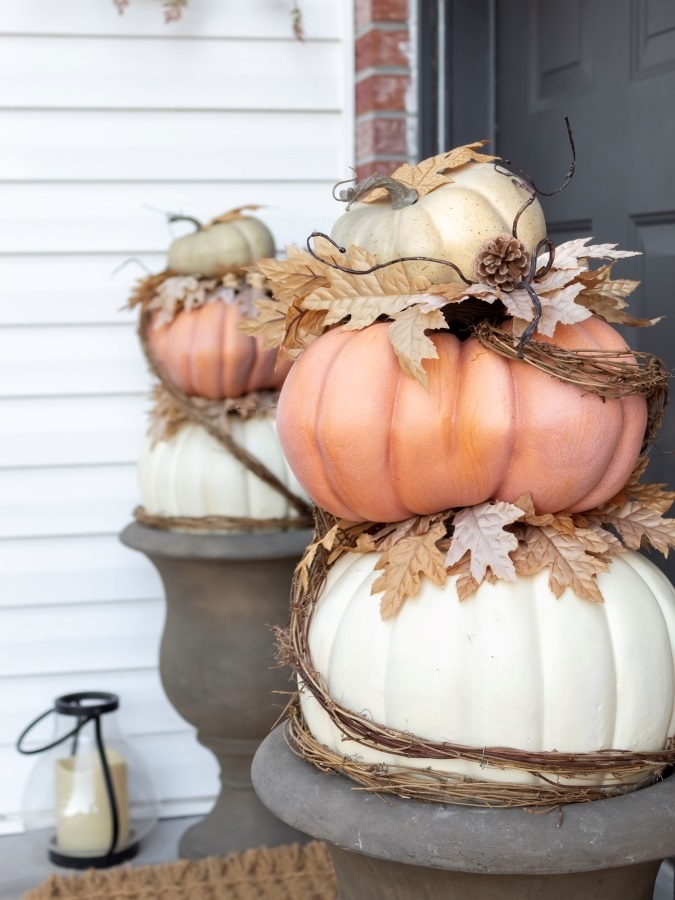
If that archway was a little too extravagant, try this DIY topiary. It will give a similar effect on a smaller scale. This is a perfect touch to a porch, especially for those who don’t have a green thumb. You can customize this project with different pumpkins, leaves, and garlands. You could even use jack-o-lanterns and spiderwebs for a Halloween theme.
Materials:
- Urn Planters
- Potting Soil
- Three Different Size Plastic Pumpkins
- Wood Dowels
- Hot Glue Gun
- Glue Sticks
- Drill and Drill Bits
- Faux Fall Leaves
- Grapevine Garland
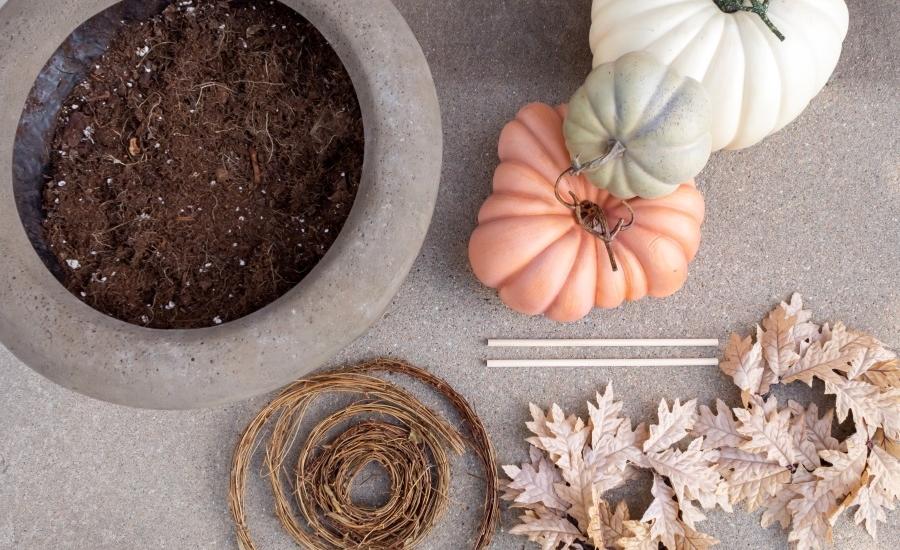
Instructions: First, fill your planter with the potting soil. Next, you can begin preparing your pumpkins. Take the largest pumpkin and drill a hole in the bottom of it, big enough to insert the wooden dowel but not too large. You want it to fit snuggly on the dowel. Now, put the pumpkin dowel down into the soil. It’s time to add leaves! Remove the stem on the pumpkin simply by pulling or cutting it off. Then, use a hot glue gun to attach some leaves to the top of the pumpkin. You’ll want them to appear as if they’re lying on top of and falling off the pumpkin.
Now repeat! Drill another hole into the top of the bottom pumpkin so that it can hold the dowel of the next pumpkin. Drill and add the dowel to the second pumpkin, stack, add leaves, and do it a third time for the top pumpkin. Lastly, wrap the now-built topiary with grapevine garland to give it a rustic feel. Ta-da! New topiary! Make two and add them on each side of your door for a symmetrical effect.
Any of these DIYs are sure to impress. When you have guests over, and they ask, “Where did you get that?” You’ll be able to say, “Oh, I didn’t buy it. I made it!” It seems like an ideal conversation starter and something sure to boost your pride. Pick one out and work on it today!
What’s the process of planting mums in a pumpkin for a unique fall planter?
– Materials needed: A Mum, A Pumpkin (large enough for the Mum), Knife, Large Spoon, Sharpie Marker, Potting Soil, Ribbon.
– Instructions: Cut the top of the pumpkin, remove the guts and seeds, add soil, plant the mum inside the pumpkin, and water it regularly.
How can I build a leaf arch for my porch using PVC pipe and garland?
– Materials needed: PVC Pipe, Chicken Wire, Garland, Zip Ties.
– Instructions: Build an arch with PVC pipe, attach chicken wire to form the arch shape, and fill it with strands of garland using zip ties.
What’s a unique fall door hanger idea to replace traditional wreaths?
– Materials needed: Pine cones (preferably real), Eye-Bolt Screws, Ribbon, Stapler.
– Instructions: Screw eye bolts into the tops of pine cones, arrange them at staggered lengths, attach ribbons to the eye hooks, staple them together, and create a hanging bunch with the pine cones.
How can I make a DIY topiary with pumpkins, leaves, and garland for my porch?
– Materials needed: Urn Planters, Potting Soil, Three Different Size Plastic Pumpkins, Wood Dowels, Hot Glue Gun, Glue Sticks, Drill and Drill Bits, Faux Fall Leaves, Grapevine Garland.
– Instructions: Fill the planter with potting soil, drill holes in the pumpkins, insert wooden dowels, add leaves to the pumpkins with a glue gun, stack the pumpkins, and wrap the topiary with grapevine garland for a rustic touch.

