Before purchasing your dream house, you may have looked into the hidden costs of buying a lake home.
Now that you’re moved in, you might be wondering what it’s going to cost to keep the place in tip-top shape.
You may encounter several smaller, but occasionally higher, costs when maintaining your lake home. These add up, and the bottom line can catch many first-time homebuyers by surprise.
Here are some of the most common hidden costs of owning a lake home.
Understand that Common Lake Home Repairs are Inevitable
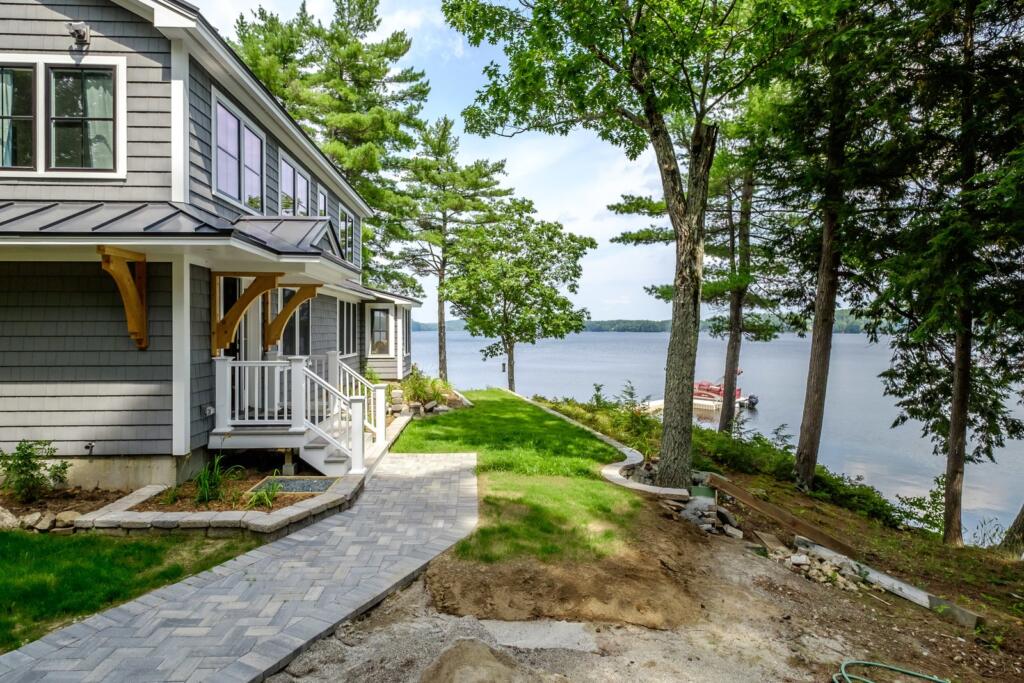
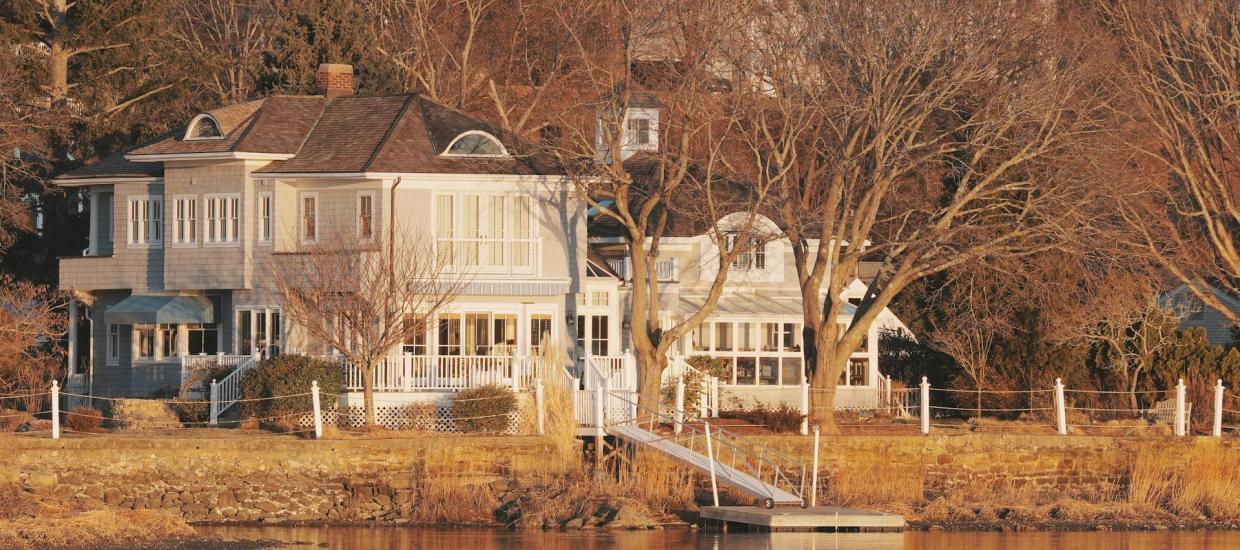
Lake homes are often situated on gorgeous plots of land, offering stunning views of the water and the surrounding natural landscape.
Because of this, lake homes are often more exposed to the elements, which can increase wear and maintenance needs depending on location and climate. The wind and rain, the lake, and even the trees around your property can contribute to these hidden costs.
On average, lake homes require more frequent upkeep and maintenance. Common repairs and their causes include:
- Damage due to wind and storms
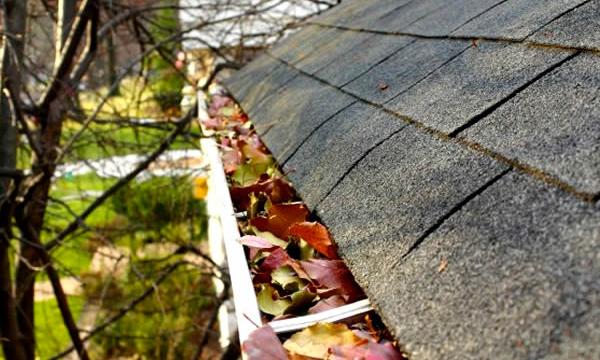
- Roof or structural damage due to falling tree limbs
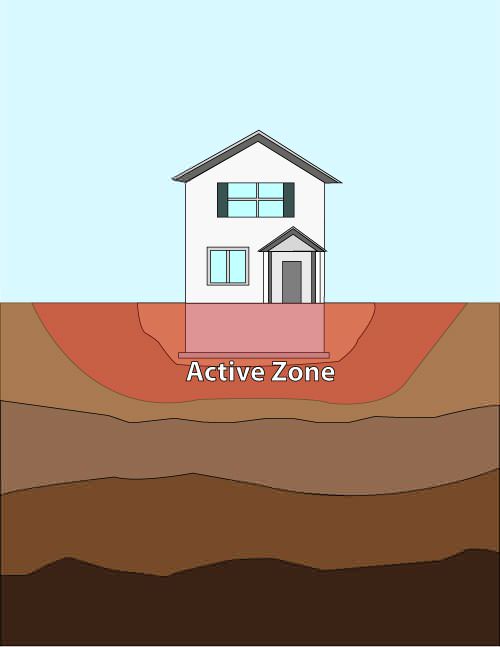
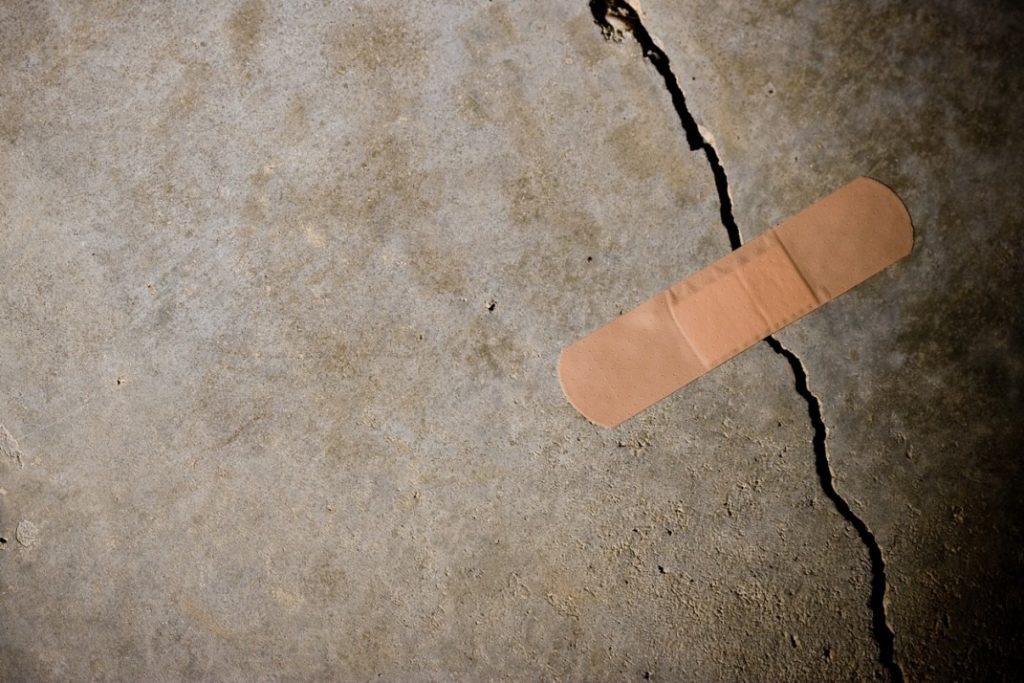
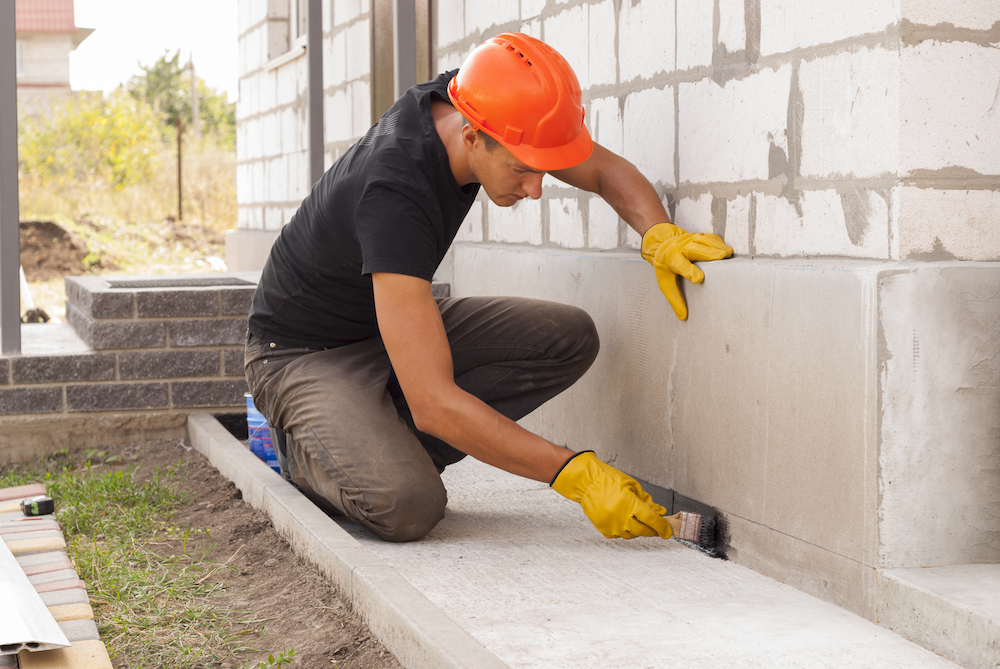
- Foundation issues due to fluctuating water tables
- Siding replacement due to wind damage
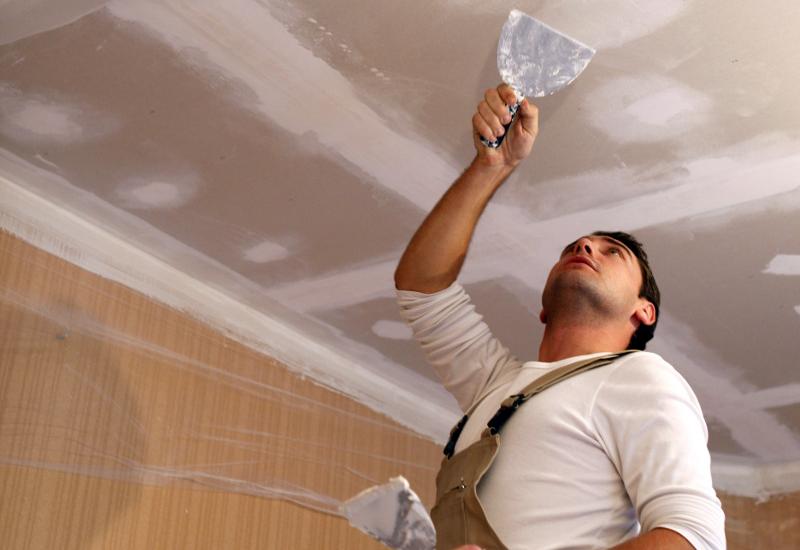
- Mildew due to high moisture content in the air
- Damage due to wildfires (most common in western states)
- Flood damage
Landscape and Curb Appeal Upkeep are a Must
Remember that you are responsible for the entire property you own, not just the house itself! Lawn upkeep, landscaping, tree trimming, and other costs can be a heavy financial burden.
For homes with forests or large trees nearby, tree trimming is a must.
Limbs overhanging your property or power lines could do serious damage. Spending a few hundred dollars to have a professional remove any overhanging limbs can save you tens of thousands of dollars in damage.
Don’t forget the shoreline.
If you own a waterfront property, you may be responsible for the seawall. This structure protects your property line from erosion. Repair estimates vary, but installation can cost more than $100 per linear foot, depending on materials, permits, and location.
If this is not your primary residence, you will need to hire someone to mow the lawn regularly. Your neighbors won’t appreciate having an overgrown field next door!
Many lake properties are also located on hills or steep inclines, too. Don’t assume that your push mower will always do the job.
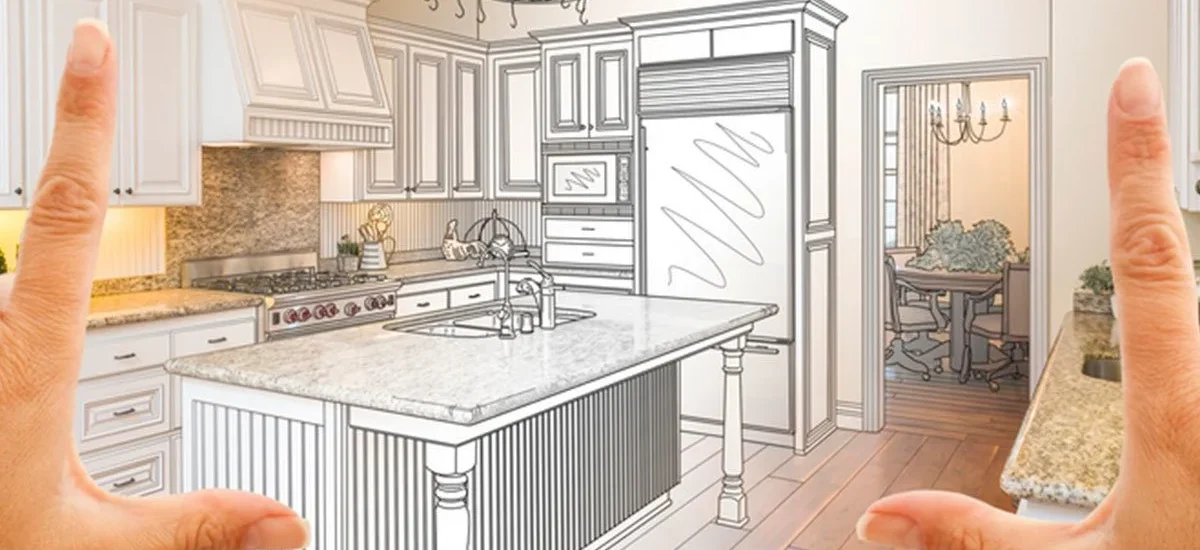
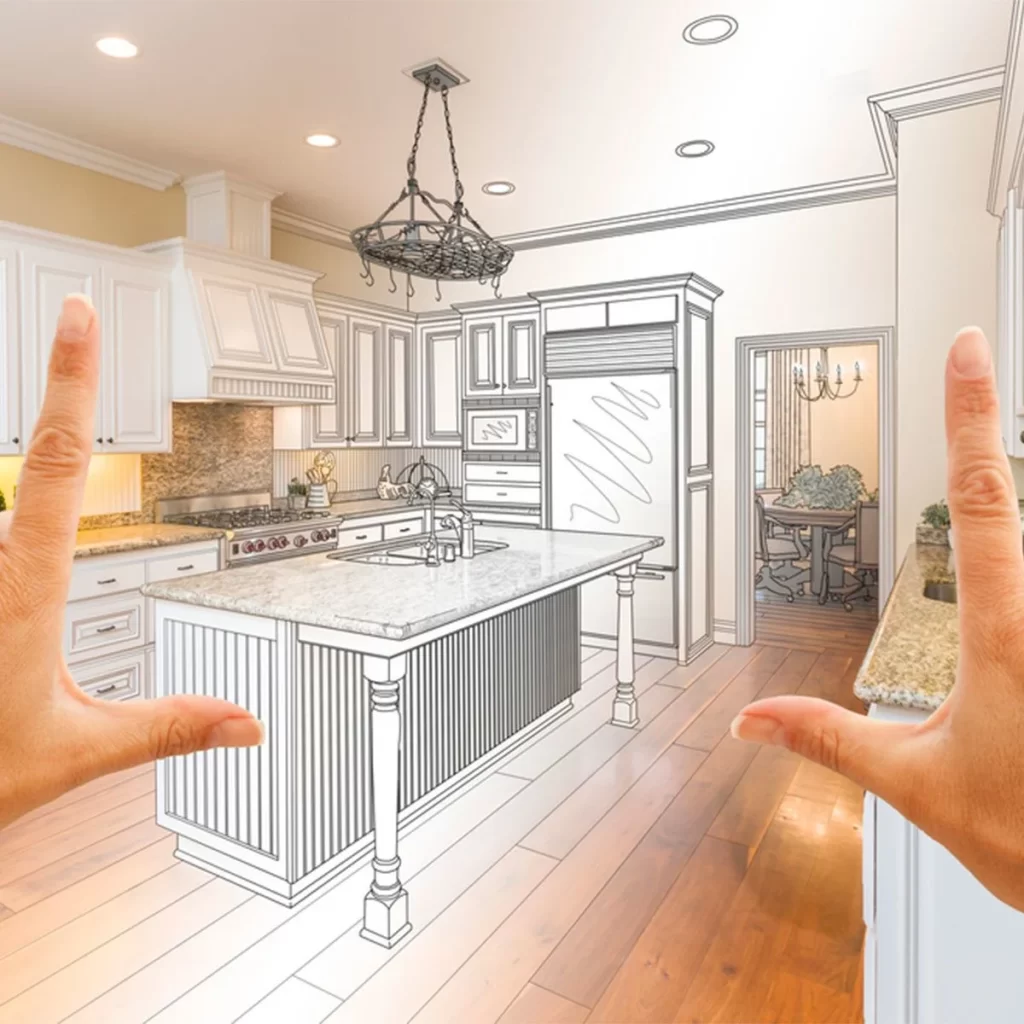
Consider Future Home Improvements and Upgrades
Once you have bought your lake home, you may want to customize it. Plans to improve the property are often made before it’s even been selected.
If you have your heart set on any of these improvements in the first few years, be sure to calculate that into your long-term budget.
Many first-time lake home buyers neglect to include these in their budget when shopping for a lake home, even if they fully intend to install them.
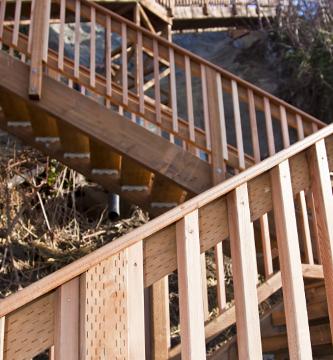
- Deck
- Hot tub
- Barbecue grill
- Swimming pool
- Garden
- Guesthouse
- Firepit
- Energy-efficient windows/lighting
Be sure that any improvements comply with local laws and regulations, too. Many lakes require special construction permits. Also, be sure to look into how to find the right contractor for the job if you won’t be the one completing the projects.
Maintaining Your Dock is Non-Negotiable
The average wooden boat dock lasts roughly 20-25 years. However, lifespan varies depending on factors such as climate, materials, and maintenance.
Repairs may only cost a few hundred dollars, but replacement can cost several thousand. Factors such as climate, size, and water depth factor into this cost.
If you plan on owning your lake home long-term and have a dock, chances are it will need to be replaced eventually.
This process will accelerate if your lake freezes over in the winter, too. Freezing and thawing over several years will inevitably deteriorate any material.
Two of Everything Rule for Secondary Lake Homes
For people with a lake home as their secondary residence, there is what we call the “two of everything” cost. For everything you keep at home, you will need at least one more set for your lake home.
Buyers rarely budget for this, but it adds up incredibly fast. Don’t fall into the trap of assuming that you’ll just ferry everything from your primary residence to the lake home every time, either.
- Furniture
- Appliances
- Cookware and dinnerware
- Sheets, linens, and towels
- Decorations
- Tools
- Toiletries
- Cleaning supplies
- Children’s toys
This is also true for utilities.
Remember, owning a second home means having two power bills, two telephone bills, two water bills, etc. These costs can become substantial if not carefully budgeted.
Many experts highly recommend a security system for any secondary residence. Houses that are not lived in full-time are especially vulnerable to break-ins.
Even if you visit every weekend, having a security system in place can give you great peace of mind.
Having a security system can give you real peace of mind if you go weeks or even months without visiting your lake home.
Cost of Entertaining Guests is Often Overlooked
Frequent guests and entertaining can be one of the most unnoticeable, and often the highest, costs of owning a lake home! This can include your extended family, your neighbors, friends, coworkers… anyone you invite over to enjoy your beautiful new lake home!
Lake homes can serve as the perfect getaway for you and your loved ones. However, the hidden costs of playing host can add up quickly. Especially for a large lake house.
For large gatherings, don’t be afraid to ask guests to chip in food, beverages, or other supplies. This can help offset what would otherwise be a huge cost.
It is difficult to estimate many of these costs in advance. Still, if you spend a little time on them, they can give you a much better idea of your budget.
You will be much better prepared to not just buy your lake home, but to enjoy it for years to come.
For more advice on purchasing a lake home, read “Hidden Costs of Buying A Lake Home: Tips for First-time Buyers“.
This article was originally published on May 26, 2017.