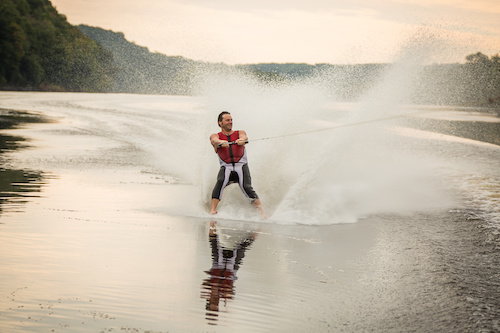
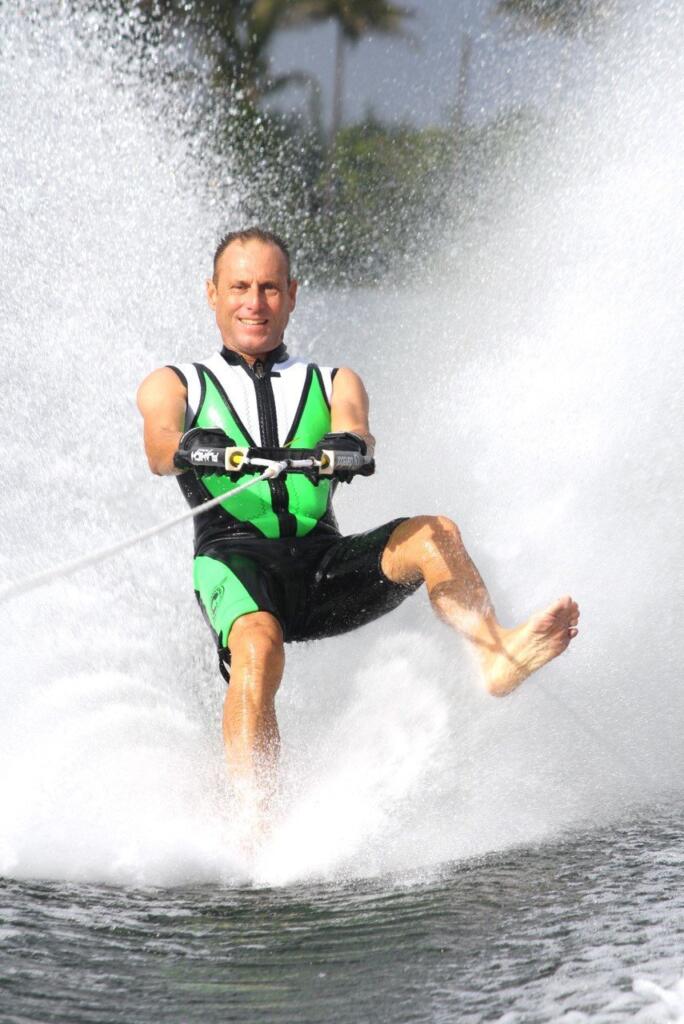
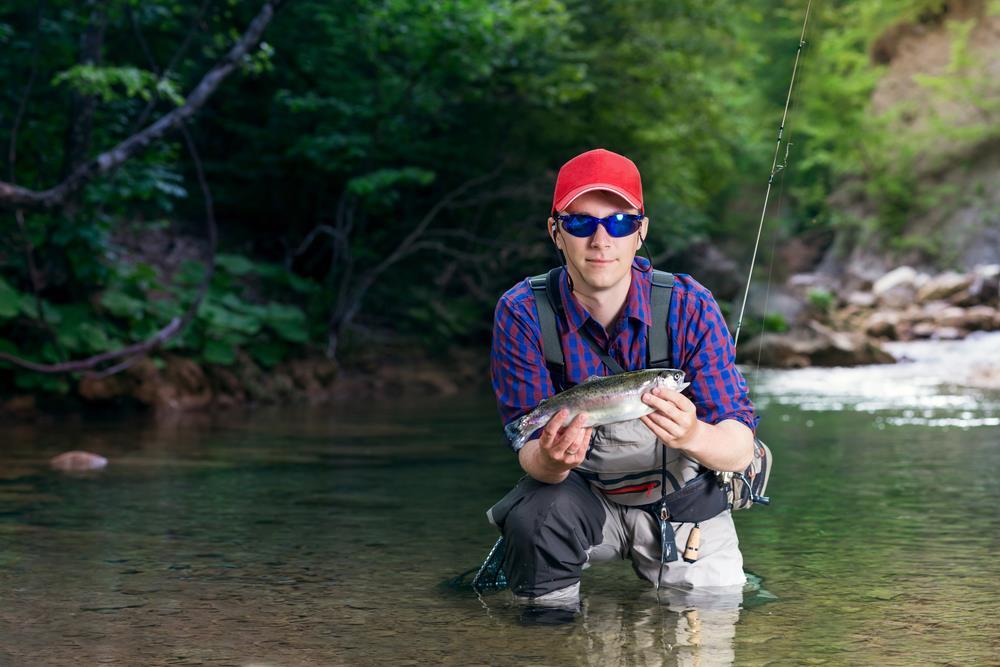
As a lake homeowner, you’re probably familiar with water skiing. One of many “behind the boat” sports involves being towed behind a boat on a body of water, using a set of skis to propel forward. On any given day at the lake, especially July 4th, you’re bound to find water skiers everywhere enjoying the sun. But, while water skiing is undoubtedly an impressive sport, have you heard of barefoot skiing?
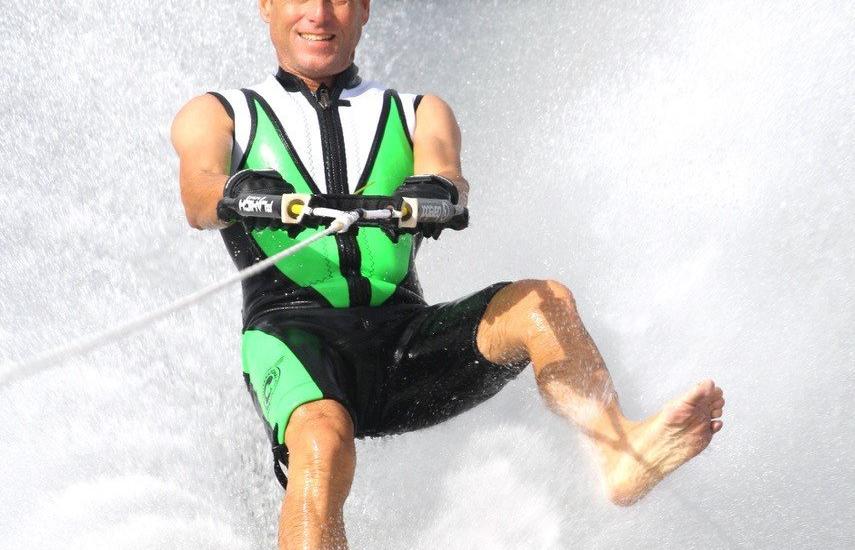
Instead of relying on skis, barefoot skiers use their feet to skim the water’s surface. To learn more about this unique sport, we spoke with Zenon Bilas, a barefoot water skiing champion and coach who trains new and experienced barefoot skiers across the globe. He discovered his passion for barefoot skiing after seeing it done in a 1977 ski show. The rest is history. Read on to learn more about this adventurous lake activity.
Barefoot Skiing Popularity
In the 1980s, barefoot skiing had its peak popularity. While it began as a fun acrobatic trick, the enthusiasm quickly caught on. “In the beginning, it was just an act in a ski show,” Zenon elaborates, “but Mike Seipel made it so that anybody could learn.” Throughout this decade, adventurous lake lovers sought coaching for this popular sport. But similar to skateboarding, its fame has ebbed and flowed with participation and popularity through the years. In response, Zenon focuses on bringing this sport to a broader audience and emphasizes the joys and benefits of barefoot skiing.
What’s Great About Barefoot Skiing
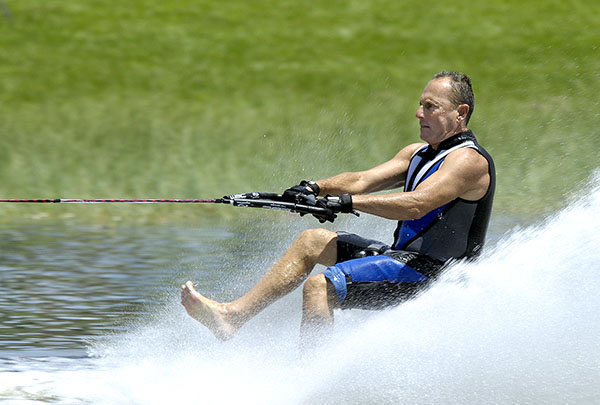
The barefoot skiing professionals make it look easy. But in reality, it’s a very exact and technical sport that requires a high level of focus. “It’s not a daredevil sport,” Zenon says. “I see it as a Bruce Lee type of mind/body sport. Once you master focus, discipline, teaching, and knowledge, then you can do whatever you want out there.” Because of this, one of the main benefits of barefoot skiing is the sense of focus that it provides you. “It’s the basis for how I am in my philosophy and my thinking,” Zenon says. Above and beyond the sport, the concentration that barefoot skiing requires can transfer to other areas of your life. Plus, it’s a great workout and an excellent way to spend time in the sun.
How Can I Learn?
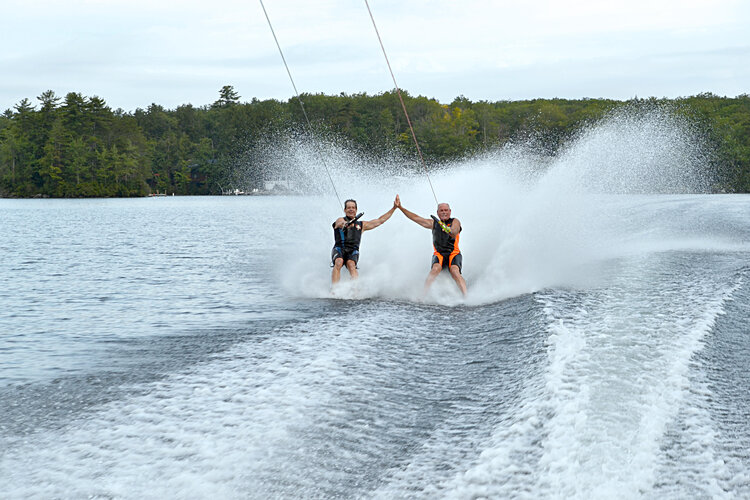
In Zenon’s view, people should be utilizing their boats to their potential by doing sports! If you decide to give barefoot skiing a shot, it’s best to get a coach. “Trial and error is not a good way of learning,” he advises. “Being coached from the beginning is the best way to do it. Having a patient person next to you in the water can make the biggest difference in your skill development and confidence.” In fact, Zenon attributes his own development as a skier to his brother’s friend, who coached him through his first foray into barefoot skiing. The second part of the equation is driving. “The better the driver, the better the success will be for the person behind the boat,” he says. “It’s a collaboration.”
If you’d like to learn more about Zenon Bilas, be sure to visit his website: ZenonBilas.com


