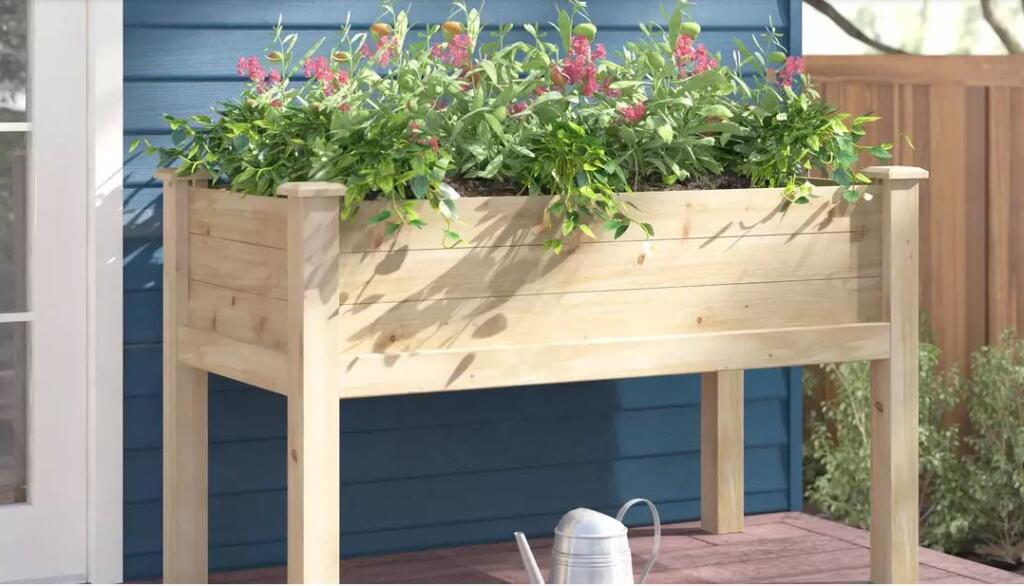
A garden bed is an excellent way to add both aesthetic appeal and gardening ease to your backyard. In this style, soil is raised above ground and enclosed in some way, typically by a wooden frame. It’s a great way of working around less-than-ideal soil conditions in your backyard. Plus, you can choose the location of your plot, offering great flexibility. For the eager gardener, garden beds also warm up more quickly in spring so you can start your planting earlier. Overall, garden beds require less maintenance in the long-run — you can keep them mulched all year which reduces weeds, you’ll spend less time in a smaller garden, and this manageable look creates a sense of organization in your backyard.
If you’ve decided to make garden beds at your lake house, follow these steps!
Consider the Elements

Just like planting a garden on regular soil, you’ll need to consider all the elements before laying down roots. First off, sun exposure and soil health are key, so you’ll want to ensure that you pick a spot for your garden bed that covers these basics. Keep in mind that your garden will need 8 hours of sun in the summer, so be sure to scope out a plot uncovered by shady trees. If needed, you can get a soil test from your local Cooperative Extension Office to obtain a fuller understanding of what’s going on beneath the surface. This may be especially important if your lake house is an older building with paint on the exterior, in which chemical damage is a risk.
Determine the Size
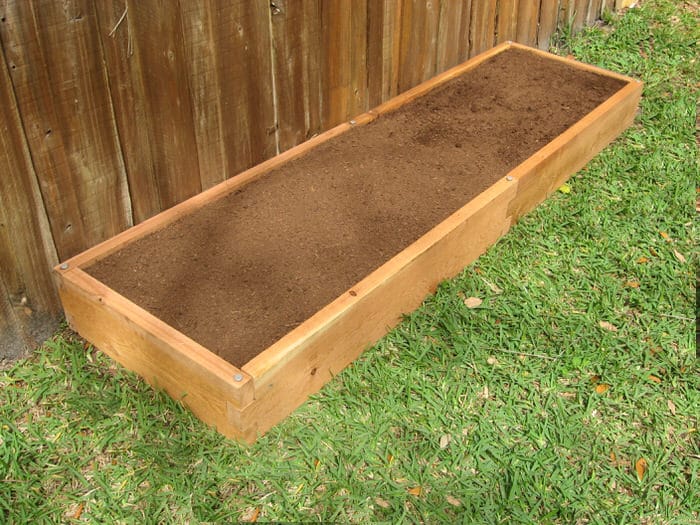
Once you’ve determined the location in your yard, the next step is to choose the frame size. Of course, this decision will vary based on the space you have in your backyard. But regardless of yard acreage, the most important rule of thumb is to be mindful of width. Essentially, you want to be able to reach every plant in your garden without stepping on other crops in the way. In general, 5 feet wide is ideal. If it’s against a fence or wall and you’re unable to reach both sides, aim for less than 2.5 feet wide.
Build the Frame
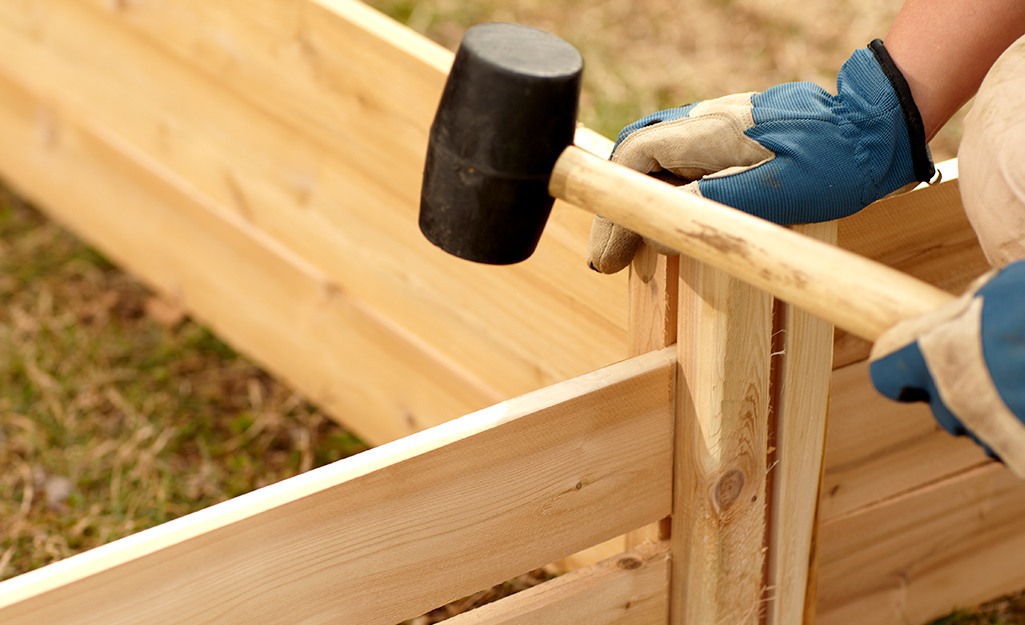
There’s not one way to make a raised garden bed. They come in all different styles, types, and materials — it just depends on your preference, and what looks best in your backyard! Although you can use bricks, steel, or stone pieces to create your frame, the easiest material for beginners is untreated wood. For example, cedar is a widely available and popular material, known for its unique pinkish-red color and ability to thwart insects and decay. But whatever you do, be sure to stay away from treated wood. The infused chemicals could potentially seep into your plant bed and compromise your roots. For the actual construction piece, YouTube tutorials can be a helpful place to start, as well as step-by-step online guides from home improvement retailers.
Lay Landscaping Fabric
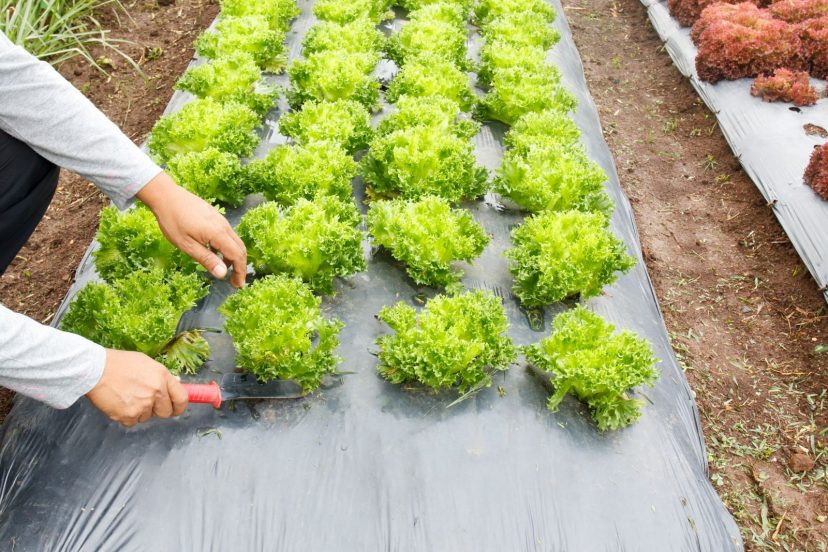
One of the great benefits of garden beds is their independence from the rest of your yard. If you’re not satisfied with the soil in your backyard — perhaps soil contamination is an issue in your town, or the level of moisture isn’t right — a garden bed is an opportunity to start fresh. To keep your soils separate, the next step is to lay landscaping fabric along the edges of your garden bed. This water-permeable piece of cloth keeps the soil in your garden bed separate from the soil in your yard. Additionally, landscaping fabric discourages weeds and stabilizes soil temperature — a great benefit for helping your plants flourish!
Fill In the Garden Bed
To fill in the garden bed, you’ll want a good mixture of soil and compost. According to blog Homestead and Chill, the target recipe is 40% soil, 40% compost, and 20% aeration. Next you may have to do a little math. First, calculate the volume of your garden bed (multiply width by length by depth) then convert the amount to cubic yards to determine how much soil you need (check out this gardener’s calculator for more help). Finally, the fun part comes next — you can start planting! If you need tips on how to choose the best plants for your gardening zone, take a look at some of our previous blog posts. We cover tips about gardening in all zone regions of the country!
If you enjoy this article, be sure to join our newsletter for weekly article updates! SIGN UP