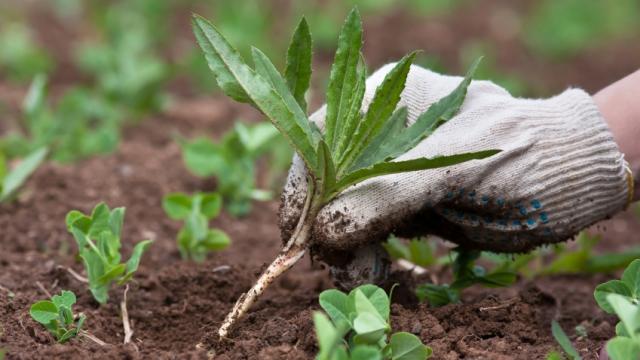
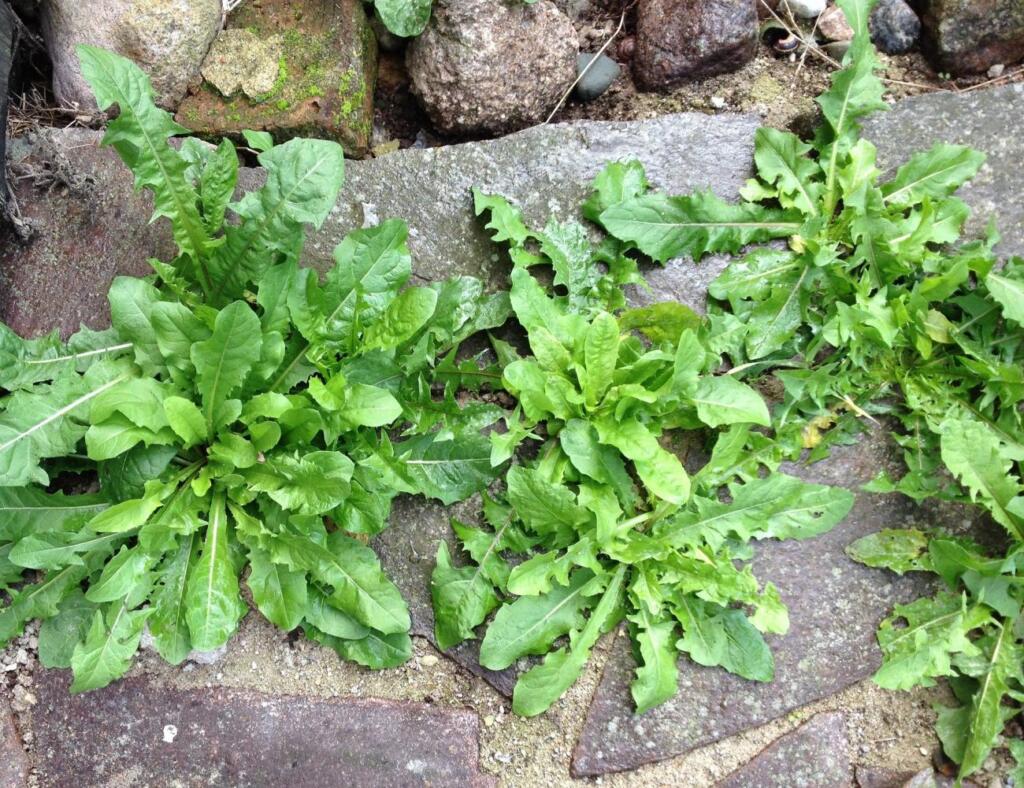
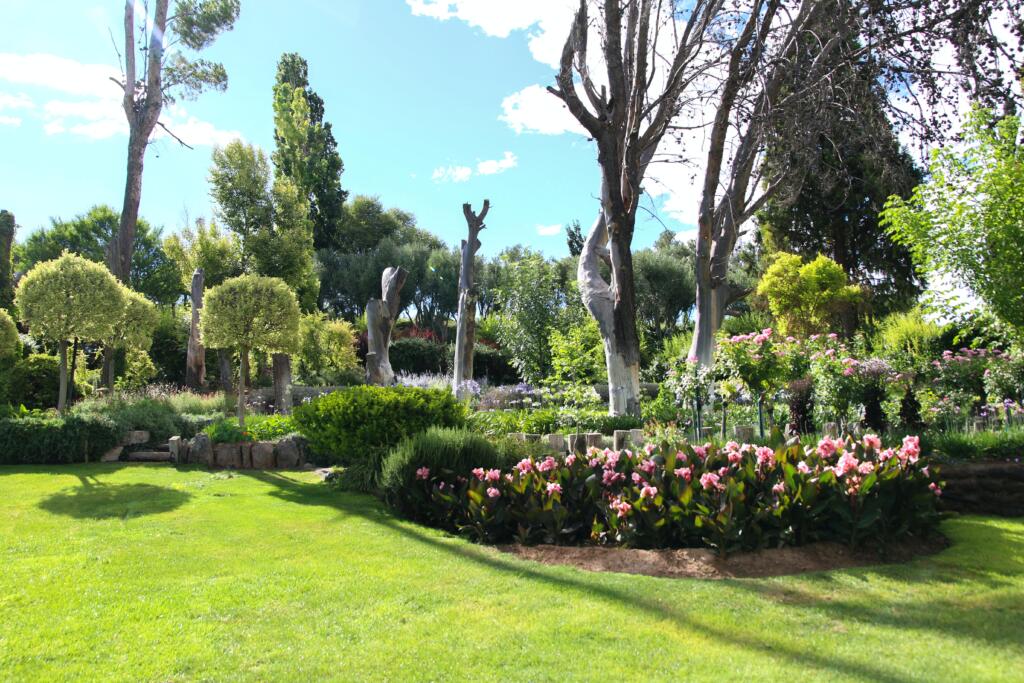
As any gardener knows, keeping weeds away from your prized plants can be a hassle. Even in the most successful gardens, weeds will creep into the soil and sunlight that your plot provides. Luckily, there’s a myriad of options for weed killers. However, many of the store-bought options contain herbicide chemicals that you may choose to keep out of your garden. If you’re looking for an all-natural DIY option, we’ve got you covered!
A Weed Killing Recipe
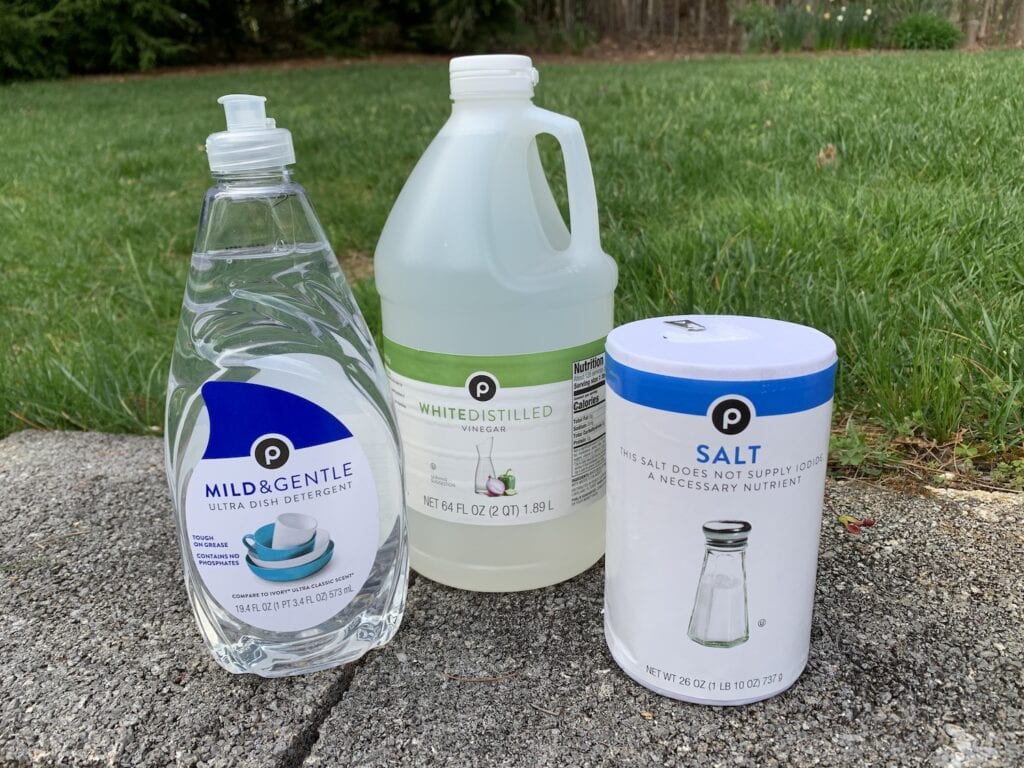
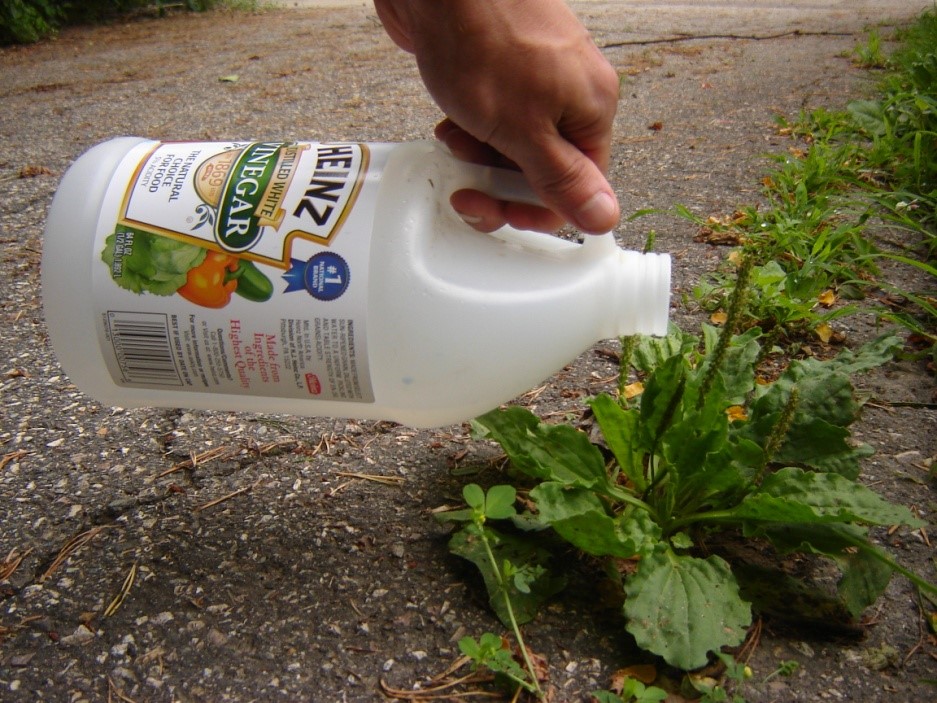
For a safe and effective weed-killing recipe, a combination of white vinegar, salt, and liquid dish soap will usually do the trick. The acetic acid in the vinegar and salt help to draw out moisture from the weeds, wilting them. To complete the concoction, dish soap serves as a surfactant which helps the plant to absorb this toxic mixture, instead of sitting topically on the leaves in beaded form. To create this mixture, just combine a gallon of white vinegar, a cup of salt, and a tablespoon of liquid dish soap. If you want to add some extra potency, try squeezing some lemon juice too.
Don’t have vinegar or liquid soap handy at the lake house? As an alternate DIY weed-killing solution, you only need one ingredient — boiling water. Its high temperature can help by killing the invasive plants down to the roots, permanently killing the weeds. However, you just want to make sure you don’t burn yourself in the process! Be sure to stand far away from where you’re pouring, and exercise caution.
Pros and Cons of DIY Weed Killer
Let’s start with the pros. With just a few simple ingredients, this herbicide is super simple to create. It doesn’t require a trip to the store, and it doesn’t expose your backyard to harsh chemicals. A win-win! However, one downside of a DIY solution is that it doesn’t get to the root of the problem (no pun intended). Chemical herbicides directly target the plant’s root system, while the DIY solution may require multiple spray sessions to finally kill the weeds. Despite its limitations, this quick, low-cost homemade solution is perfectly effective in managing a lake house garden.
When to Apply Weed Killer
To make the mixture most effective, it’s best to apply it to a group of weeds on a bright, clear sunny day. In the sunlight, the effects of your handiwork would be evident within a few hours. When you see wilting leaves and browning stems, you know the herbicide is working. Usually, they’ll turn fully brown before finally withering away.
Weed Prevention
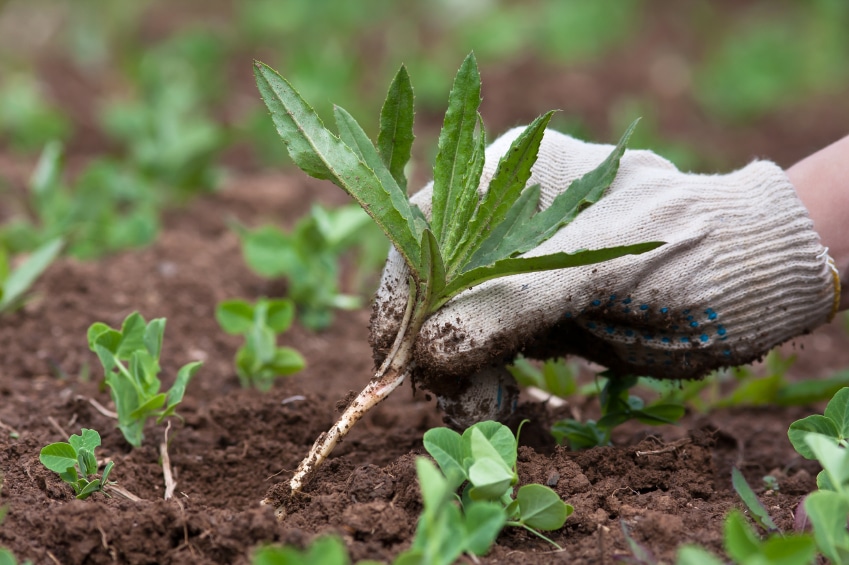
In addition to killing weeds once they’ve already sprouted, developing solutions for deterring weed growth in the first place is an excellent prevention strategy. Mulch is one easy solution that obstructs sunlight and prevents weed growth. It also retains moisture in the soil, carving out less watering time for you. Additionally, practicing good lawn care such as mowing at a taller height, regular watering, and checking on the health of your plants can be helpful.
When it comes to properly kill weeds, you might have all you need right in the kitchen of your lake home. For more gardening tips, continue to check out our blog!

 Autumn is just around the corner, and while you may not know it, now is the absolute best time to take care of your lawn and prepare it for the following spring.