

Nothing says “autumn” more than a good old fashioned camping trip near your lake house. This time of year, roasting marshmallows and sleeping under the stars is a great way to get in touch with nature. However, this classic activity comes with some arduous responsibilities, such as building a campfire. But perhaps the most daunting task is pitching a tent. Unless you’re a seasoned camper or former Eagle scout, this endeavor isn’t intuitive. With so many poles, ties, and fabric, how do you know where to start? To help you prepare for your next camping adventure, we’ve compiled a list of pointers for pitching a tent!
1. Make Sure You Have Everything
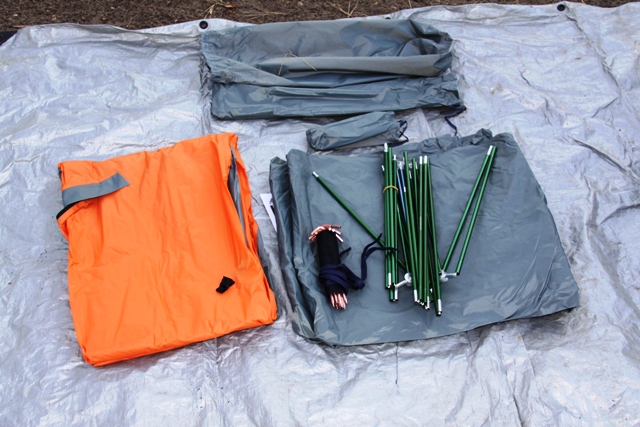
There’s nothing worse than starting your journey, being deep in the woods, reaching into your tent bag, and realizing that you’re missing pieces. You don’t want to be stranded without everything you need to construct your tent. As such, it’s best to make sure everything’s in the bag first. Ideally, you should accomplish this step before you leave your lake house. Better yet — set up a practice tent in your backyard by the water!
Depending on the type of tent that you have, the required components will be different. However, the most standard tents include the main body, a rain fly, ground cloth, and stakes.
2. Lay the Groundwork

Just like a proper foundation is essential for any home, it’s also crucial for pitching a tent. This means choosing a site with a flat surface and clearing away any sharp rocks, twigs, and stones from the general area. After all, you want to create a comfortable environment conducive to sleeping soundly. Once you’ve found your spot, lay all of your components out of the bag onto the ground and line them up visibly. This way, you’ll be able to assemble them quickly without fumbling around at every step.
Once you’ve found a spot, cleared the ground, and laid out your pieces, the real work comes next. First, lay the tent’s main body on top of the ground cloth. The hooks should be facing up so that you can assemble the poles later. Typically, the tent corners have color-coded tags, making sure the colors on the ground cloth align with those on the main body.
3. Assemble the Poles
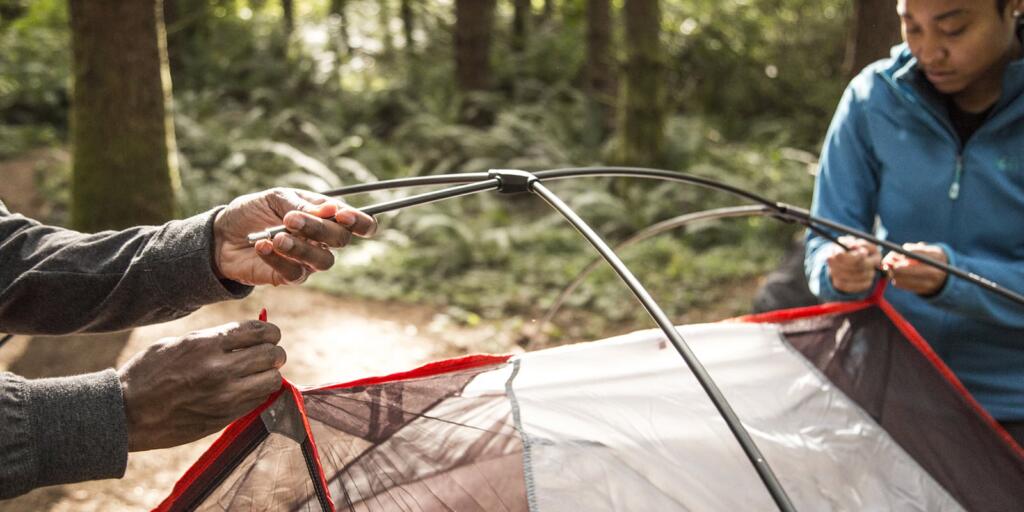
Usually, a standard tent comes with four poles – two larger ones and two smaller ones. Since the tent curves at the top, assemble the poles so that the smaller pieces are facing towards the center. Then, lay the assembled poles onto the main body and set them up one at a time.
To set up a pole, first, insert the end piece into the holder on the tag. Then loop it through the provided slots in the tent, as though you’re looping a belt onto a pair of jeans. Once you’ve pulled the pole through all the loops, insert the other end into the hole or slot provided. Repeat the process for other poles!
If this step is the most frustrating for you, you’re not alone! It’s the most detailed step, and you’re bound to make errors, especially if this is your first time pitching a tent. If you’re camping with others, ask for help on this part to minimize errors.
4. Stake the Tent
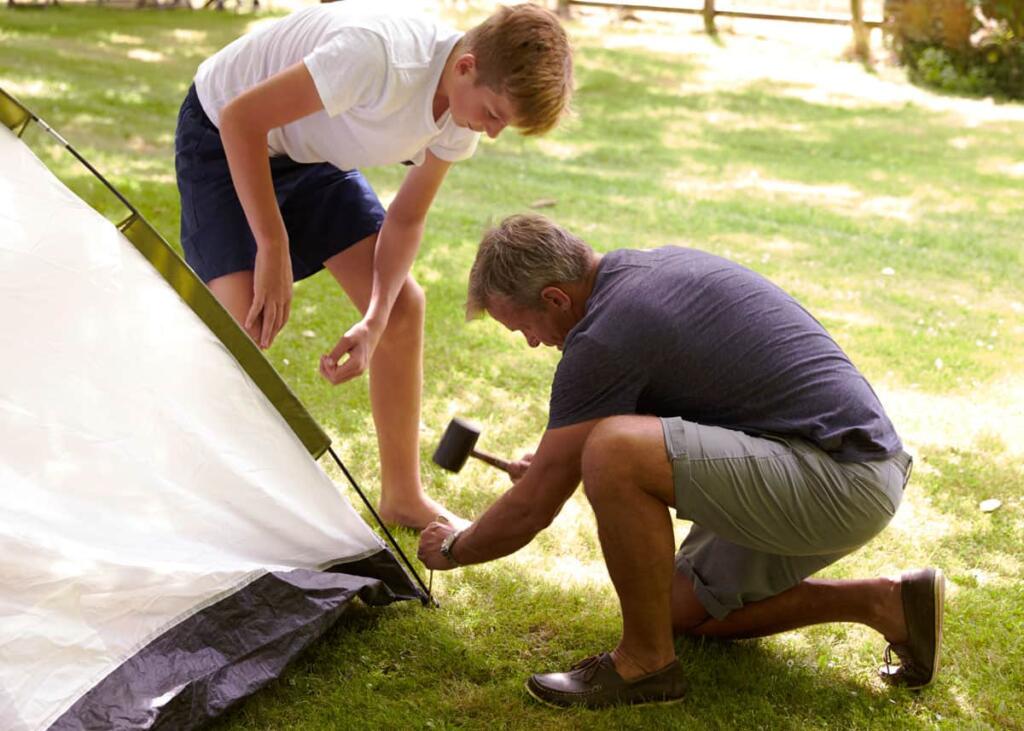
Each corner of the tent should come with loops for staking. Loop these features around the stake. Then, using a foot or hammer, stake the tent into the ground at a 45-degree angle (this angle should be facing away from the tent to create tension and keep the tent standing). Do this for all four corners of the tent. As a pro tip, it’s helpful to stake opposite corners first for the utmost stability.
Finally, slide the rain fly over the tent’s top and attach it to the same loop as the stake loops. Hopefully, you won’t catch too much rain. But if you’re unlucky, there’s plenty of advice on pitching a tent in bad weather.
5. Enjoy the Tent
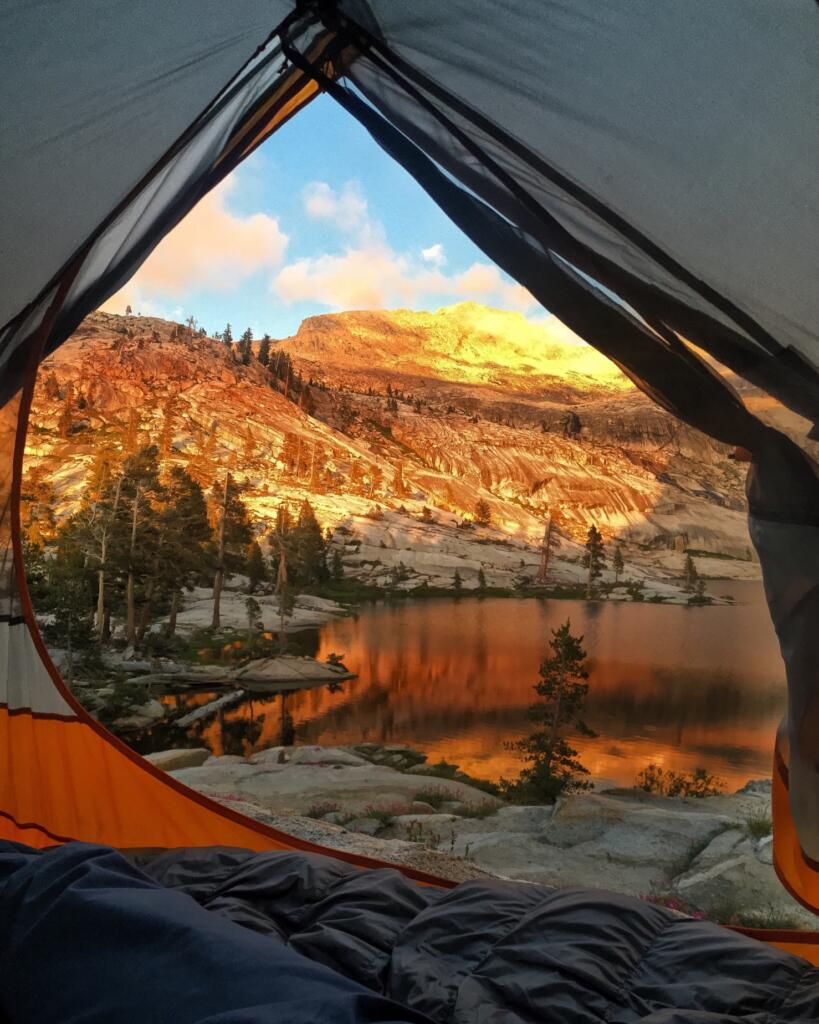
Finally, your tent is ready! It’s time to unroll your sleeping bags inside and enjoy your camping trip to the fullest. Clean air and cool temps make for the best sleeping experience. Waking up to a slice of nature is divine. If you have never tent camped or if it has been a while, do yourself a favor and reconnect with the natural world in a tent!