Home Upgrades: DIY Projects to Improve ROI

man in a workshop with tools, wood, a laptop, and a book
Courtesy of Ivan Samkov
  • From small DIY projects to major overhauls, there are many upgrades homebuyers can do to elevate ROI:
    • Improve Curb Appeal
    • Install Metal Roofing
    • Refinish Hardwood
    • Switch to LED

We look back at old homes and like to think of them as well-loved, but houses tend to reflect the scars of time. From dents in the wall to oil spots and scuffed hardwood, most properties desperately need a facelift. So grab the caulk gun and sanding paper as we discuss four DIY projects to improve your home’s return on investment (ROI).

Improve Curb Appeal

home with dark blue accents, asphalt shingles, and and siding
Courtesy of Westlake Royal Building Products

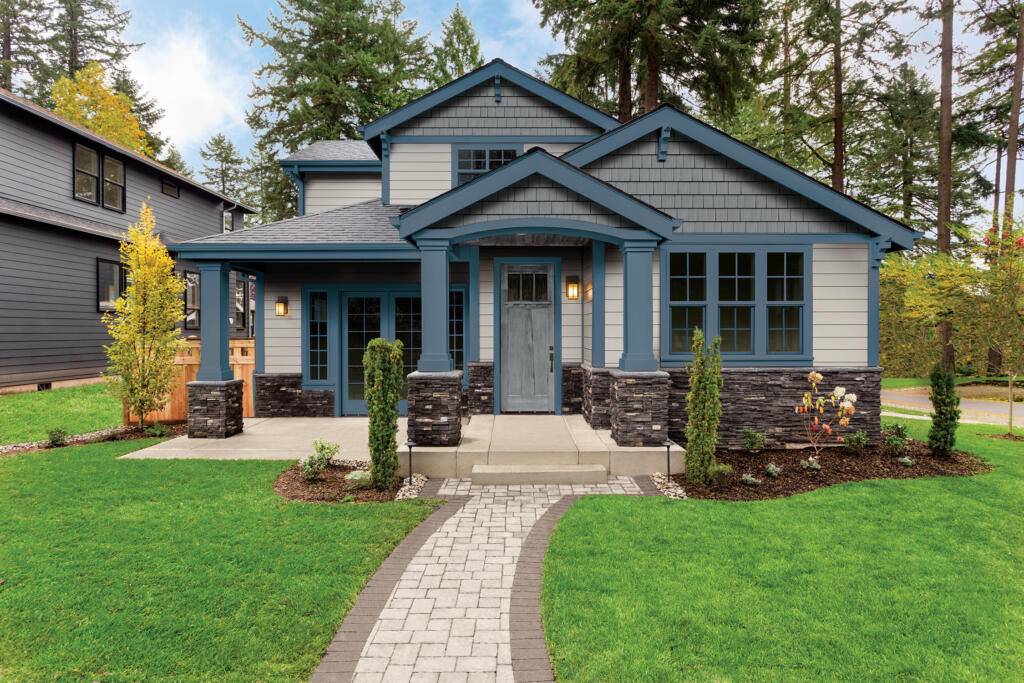
Curb appeal is the attractiveness of a home derived from its aesthetic value. Put simply, what does the average passerby think of your property from the street view? Are your hedges trimmed, your exterior freshly painted, and your flowers blooming? Curb appeal encompasses more than these few ideas, but most upgrades bring at least 50% ROI. Landscaping improvements such as planting new trees or garden beds can yield a 50% ROI and a jump in resale value by 14%. Power washing your driveway removes the grunge and costs less than $500. Not all upgrades cost a fortune; new light features, doorknobs, and small porch plants can cost under $200.

These don’t always work out, though. Not all buyers are looking for an intricate garden to tend to, and not everyone desires the maintenance that a pool requires. Costs associated with curb appeal changes depend on the property and modifications made, and you can check out some of our ideas INSERT INTERNAL BLOG LINK HERE.

Install Metal Roofing

person with glove cleaning a gutter of a metal roof
Courtesy of Sheffield Metals

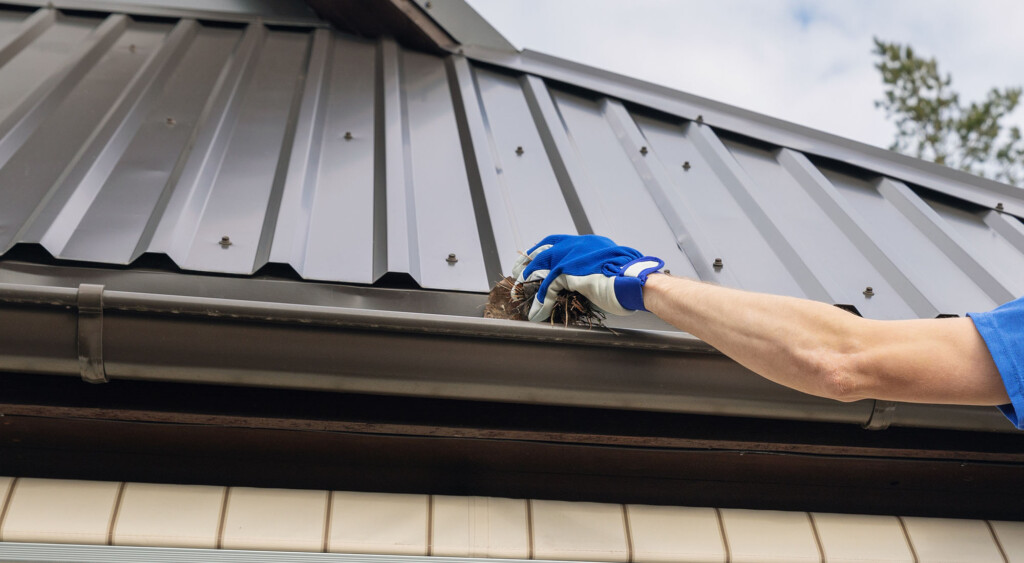
Our next DIY project is no small task. Over the past few decades, the popularity of metal roofing has risen exponentially, and the market expects to hit $33.5 billion by 2030. The low-maintenance alternative boasts longevity well over the classic asphalt shingle lifespan of 12–20 years, as metal roofs last up to 70 years. Of course, depending on local conditions and weather events, homeowners must also replace asphalt shingles often. But metal roofing, whether shingles or trays, helps homebuyers in the long run with its energy-saving properties. By its nature, this product reflects UV rays and, on average, saves between 10–25% on cooling costs. Likewise, lightning strikes upon a metal roof drastically reduce the risk of nature-borne house fires. And for those concerned with sustainability, most metal roofs are constructed with at least 25% recyclable materials.

Costs of swapping to a metal roof range between $5,000–$20,000 but average a 61% ROI alongside added benefits.

Refinish Hardwood

diy brushing hardwood with a varnish
Courtesy of BuildDirect

When installing flooring, hardwood and tile instantly elevate any space as long runners tend to increase perceived depth. In fact, Professional Builder suggests that hardwood floors increase a home’s ROI by 70–80% and a 2.5% boost to the overall sale. But over the years, scratches and knicks formed in the hardwood degrade its luster. More cost-effective alternatives exist, such as vinyl or laminate, but many homebuyers prefer genuine hardwood. Don’t just take our word for it. In 2019, the National Association of Realtors conducted a Remodeling Impact Study revealing that 27% of realtors suggest refinishing hardwood before putting your home up for sale. If you want to do a DIY project for your refinished hardwood, expect to spend between $800–$2,000, dependent on quantity and desired finish. Still, this remains more cost-effective than replacing the flooring entirely — often at three times the price!

Switch to LED

person screwing in an LED bulb into a light fixture
Courtesy of Inch Calculator

LED bulbs are a cost-effective lighting choice with several benefits. Americans spend, on average, at least 15% of their electricity bills on lighting, per the U.S. Department of Energy — but LED bulbs slash those numbers. Because they put off minimal heat, energy spent on cooling is reduced, and households retain an average of $225. Like many of the other DIY projects on this list, switching to LED bulbs is an investment in longevity. LED bulbs last approximately 30,000 hours, whereas incandescent bulbs only last 1,000 hours.

These DIY upgrades to improve ROI on your home only scratch the surface of potential ideas. So, whether you’re a DIY expert or just starting, there’s always something you can do.

How To Replace a Ceiling Fan

man installing ceiling fanAs the weather warms up, many of us will be reaching up to turn on your ceiling fan.

These are good for dispersing cool air throughout a house, adding air flow to a room and more, but contrary to common perception, ceiling fans don’t actually make a room cooler.

A thermostat under a fan going full blast will read the same temperature after the fan is turned off.

However, the wind chill effect can make a room feel as much as seven or eight degrees cooler.

Ceiling fans use a fraction of the energy an HVAC system uses, as well.

Ceiling fans can actually help warm rooms in the winter, too. Most ceiling fans have a directional switch on the fan housing.

If you reverse a fan’s rotation and run it at low speed, it will gently draw warm air upwards from floor-based heat registers. Just be sure to flip the switch and reverse direction again once the weather warms up!

Installing a fan can be very easy, but only if you follow the directions included with your new fan kit and keep a few safety tips in mind.

Light or no light?

This is a very important factor to keep in mind when shopping for, and installing, your new ceiling fan. There are four possibilities here.

Please note that these are general guidelines – always follow the installation instructions on your new fan package.

If your old ceiling fan has a light fixture attached, but your new fan does not: during the attachment process, simply cover the light wires and tuck them back in the housing.

On the other hand, if the old ceiling fan has a light fixture, and your new fan does: connect the old light wires to the new light kit, and secure it to the housing with screws.

If your old ceiling fan does not have a light, and your new fan does not: you don’t have anything to worry about!

If it does not have a light, and your new ceiling fan does: check the assembly and housing of your old fan as you remove it. Often, there is already clearly labeled wiring for lighting in the fixture, even if it is not used.

This may be wound together with the fan wiring.

If there is not wiring clearly labeled for a lighting kit, you will need to ask someone with experience for help, or hire an electrician.

Turn the Power Off

This means more than turning off the switch. You will need to cut the power off to the entire appliance.

Turn off the circuit breaker or fuse panel, depending on what your home has. It is only safe to remove the light fixture once you have done this.

You can test to see if the electricity has been cut off by turning the wall switches on and off, or even using a circuit tester on the light fixture.

You can then remove the light fixture and disconnect the fan’s wiring.

Remove the old fan

If the fan has a light, remove the light shade and light bulb(s). Remove the fan blades by removing the screws holding them in place.

If there is a light fixture on your old fan, remove the housing by removing the screws holding it in place.

Disconnect all of the old wires as you remove the housing, and remove the mounting bracket.

Remove the ceiling fan mounting bracket by removing the screws holding it in place.

Add the new fan

Screw in the new mounting bracket according to the directions on the package.

Connect the new wires, making sure the metal wires are in solid contact. Secure them with twist-on wire connectors, also known as “wire nuts.”

These small plastic caps twist electrical wires together, while protecting your fingers from the electricity while handling them.

Attach the central rod or canopy of the fan to the mounting bracket. This is the part of the fan that actually rotates.

Attach the fan blades to the mounting brackets with the screws included with the fan.

If there is a light on your new fan, connect the light kit and secure it with screws. Attach the light fixture as the instructions dictate.

Attach the included pull chains, if applicable.


Turn the circuit breaker or fuse back on, then turn on your new ceiling fan!

Easy and Inexpensive DIY Options to Refresh and Rejuvenate A Room

Nothing will boost your spirits or improve the look of your home quite like a new decorating project will. Many people have the notion that decorating has to be an extensive project in order to make a difference. The truth is that there are plenty of easy, do-it-yourself techniques you can use to liven up any room of your home.

Here are five inexpensive DIY options to use the next time you need a pick-me-up for a room but don’t want to spend a great deal of time or money on home improvements: Continue reading “Easy and Inexpensive DIY Options to Refresh and Rejuvenate A Room”