
When it comes to decor for your lake house, there’s no shortage of DIY projects. Whether it’s a homemade fire pit, chalkboard paint, or driftwood decor, it’s empowering to take interior design into your own hands. One classic staple found in many lake homes is the lake sign. These cute “go jump in the lake” or “rules of the lake” pieces are a fun way to customize your home with lake-specific decor. But if you want a lake sign, there’s no reason to spend money on a design sold on Etsy. Plenty of bloggers have shared their secrets for creating a DIY lake house sign. Check out our top 5 favorites!
“Go Jump in the Lake” Sign
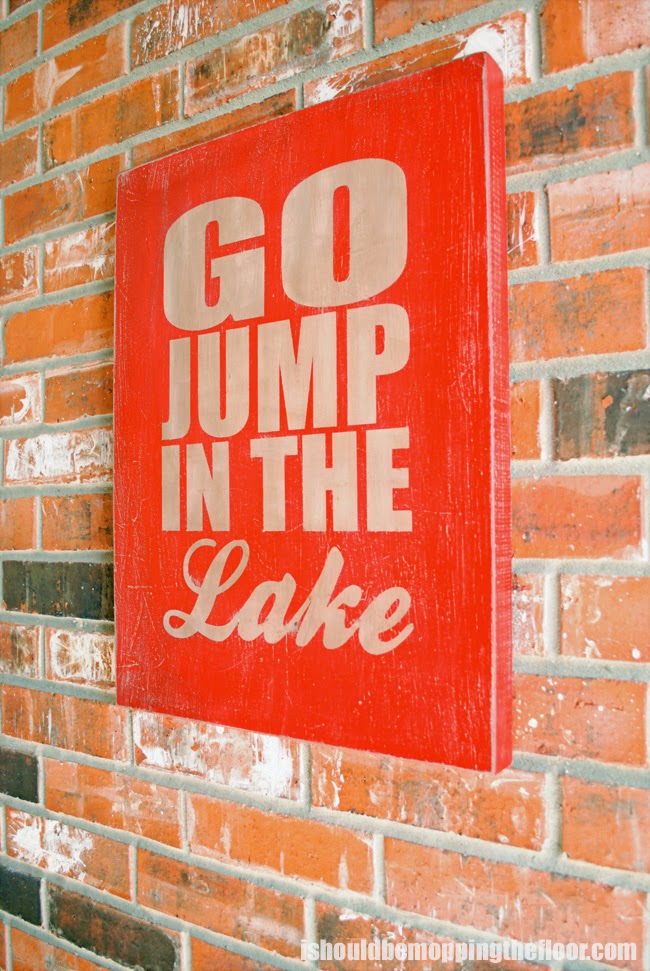
From Uncommon Designs, this DIY lake sign has a unique vintage flair. The fire-engine red tone against cursive letters resembles a classic cola logo, evoking a familiar feel. The distressed paint especially stands out against a textured wall.
Supplies:
- One canvas
- Chalk paint
- Vinyl lettering cut or pre-made vinyl stickers
- Acrylic craft paint
- 150 grit sandpaper
- Stain and water
Instructions: Purchase a blank canvas or use an existing art piece that you don’t mind painting over. Cover the canvas in a base coat of chalk paint (this blogger used Annie Sloan Chalk Paint in Country Grey). Using the vinyl lettering cuts or stickers, place the letters spelling “Go Jump in the Lake” onto the canvas. Paint over the vinyl letters with a simple acrylic red craft paint and pull the letters off once they’re dry. For the vintage look, rough up the canvas with sandpaper and wipe the canvas with the 1:1 strain and water mixture.
Rustic Lake House Sign
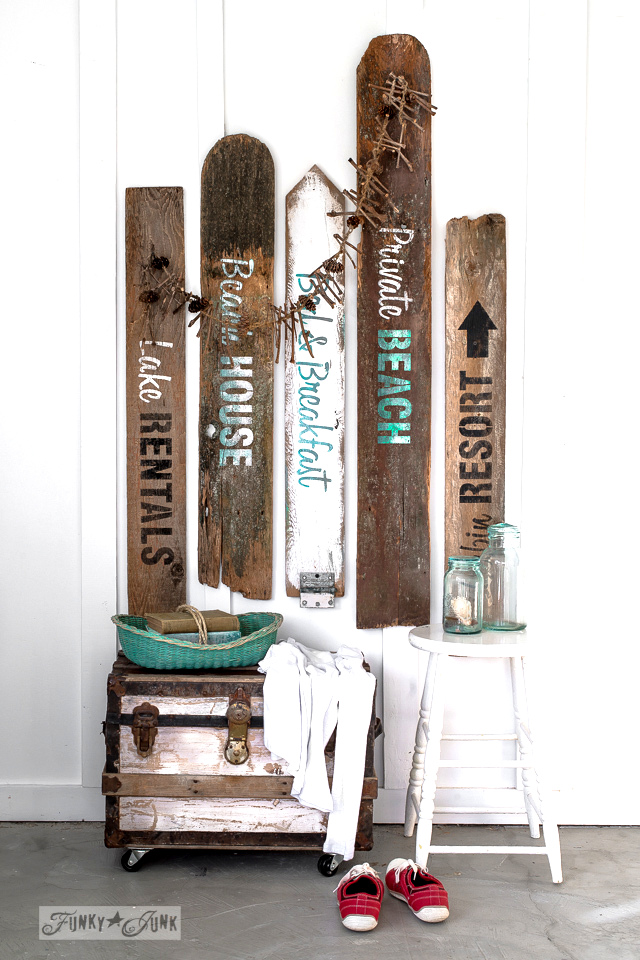
If your lake house decor has a rustic cabin vibe, this sign is perfect. From Funky Junk Interiors, Canadian blogger Donna uses old items to decorate her home. She’s all about repurposing what others may call “junk,” and this DIY lake sign is no exception.
Supplies:
- Wooden boards
- Stencils for a word or phrase of your choosing
- Paint (three colors)
- Tape
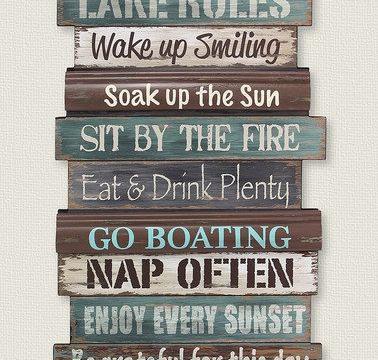
Instructions: Lay any number of wooden boards out. Then, take your chosen stencils and tape them to the wooden boards for security. Using a paint color of your choice (this blogger used a combination of turquoise, white and black fusion mineral paints), tap each letter with a dried brush. Then remove the stencils!
Lake House Driftwood Wreath
If you own a Cricut Joy machine, this DIY lake sign is the perfect excuse to dust it off. Without this appliance that prints adorable labels, you can still create the driftwood wreath to add a nautical flair to your front door. Tanya from Dans Le Lakehouse blogs about several other DIY projects you can check out, too!
Supplies:
- Cricut Joy
- Cricut Joy Smart Vinyl
- Other Cricut supplies (Weeder Tool, scraper tool, transfer tape, design space)
- Driftwood
- Air nailer and compressor
- 1” and 1.5” nails
- Rope for hanging
- A sheet of Lexan, plexiglass, or plywood
- Screws and drill
Instructions: Start by collecting small pieces of driftwood around your lake house! Once you have enough for the lake sign, set down a bucket the same circumference as your desired wreath. Create the bottom layer, then add more layers of driftwood pieces, air nailing them as you go. Then, cut a small rectangle of plexiglass and use the Cricut Joy tools to create your customized lake sign in the wreath’s center. Tie a rope at the top for hanging.
Faux Wood Lake Sign
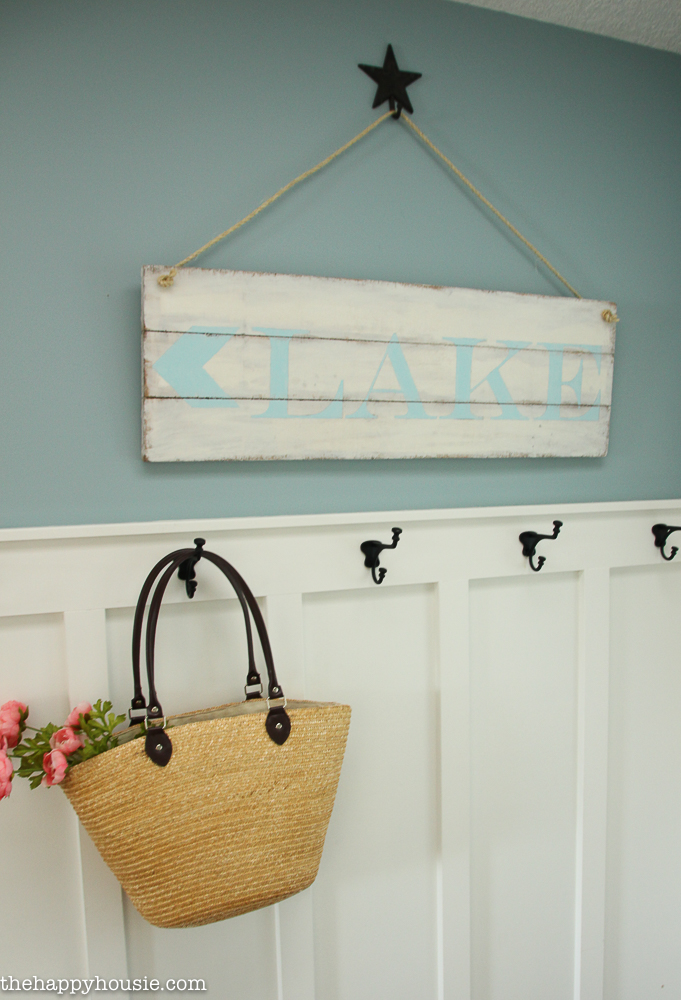
This simple DIY lake sign from The Happy Housie blog is elegant yet rustic. When Krista, the blog’s creator, noticed that most lake signs featured arrows pointing towards the road rather than the lake, she created a sign. While Krista makes her piece from faux wood, you can use either real or faux wood for yours.
Supplies:
- Foam tools (foam sheet, smooth finish, foam knife, and tuck & scribe tools)
- FloraCraft Styro Cutter Plus
- Putty knife
- High grit sandpaper
- Wood stain wipes
- Acrylic paint craft in two colors (blogger used Martha Stewart “Summer Linen” and “Summer Haze”
- Ruler
- Printed lettering and arrow
- Carbon tracing paper
- Twine
Instructions: Apply 2-3 coats Make It: Fun Crafts® Smooth Finish with a putty knife onto the foam. Allow it to dry and sand lightly with sandpaper. Measure 4” strips of foam and mark at intervals using a ruler to mimic a wood plank look. Use the “tuck and scribe” tool to smooth it out. Apply wood stain around the outside edges and faux plank edges. After it dries, apply a coat of white paint. Then, line up lettering, trace it, and fill in the lettering using the other paint shade. Hang with a rope.
Live Love Lake Sign
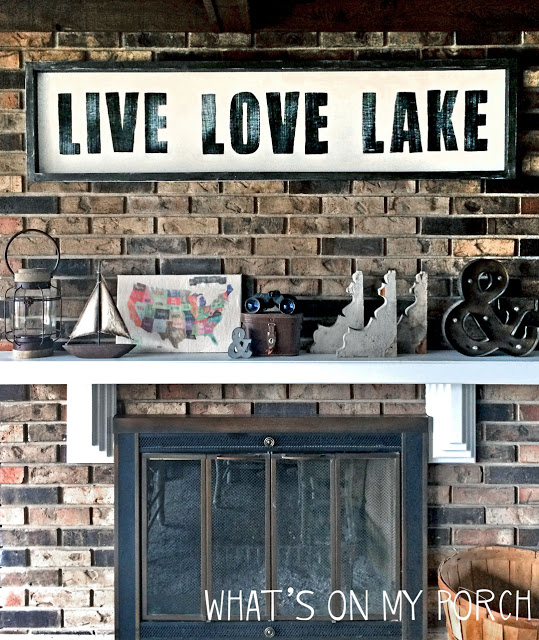
You’ve probably seen plenty of ‘live, laugh, love” wall art (or even own some), but this one from My Porch Prints is more fun and a lake-specific version. If you’re looking for a simple, vintage sign that isn’t excessively colorful, this is the project for you.
Supplies:
- 1×1 wooden boards (for the frame)
- Flat pieces of wood for the sign
- Screws, nails, or nail gun
- Picture hanging hardware
- Paint stain for the frame
- Acrylic craft paint for the words
- White latex paint for the background
- Paintbrushes
- Willow charcoal or pencil
Instructions: Assemble the wooden frame by cutting and nailing the side pieces together. Cut the flat wood panel, but do not nail it to the frame quite yet. First, stain the frame by lightly brushing the stain across the wood. Then, use white latex paint for the panel. Using Microsoft Word or other software, print out the words “Live, Laugh, Lake” and use it as a stencil on the panel. Trace the words using a pencil or charcoal. Finally, paint the words in black using a dry brush technique. Attach the panel to the frame, and hang on your wall.
Which DIY lake sign are you going to choose for your next project?